Master Terminal Multiplexing with Zellij in Minutes!
Let me show you something exciting, something that makes me much more productive.
I am going to execute command zellij, specify a name of the session (crossplane-kubernetes), and a layout (test-layout.kdl), and…
Do NOT run the command that follows. It is only a preview. We’ll set it all up later.
zellij --session crossplane-kubernetes --layout test-layout.kdlBOOM!
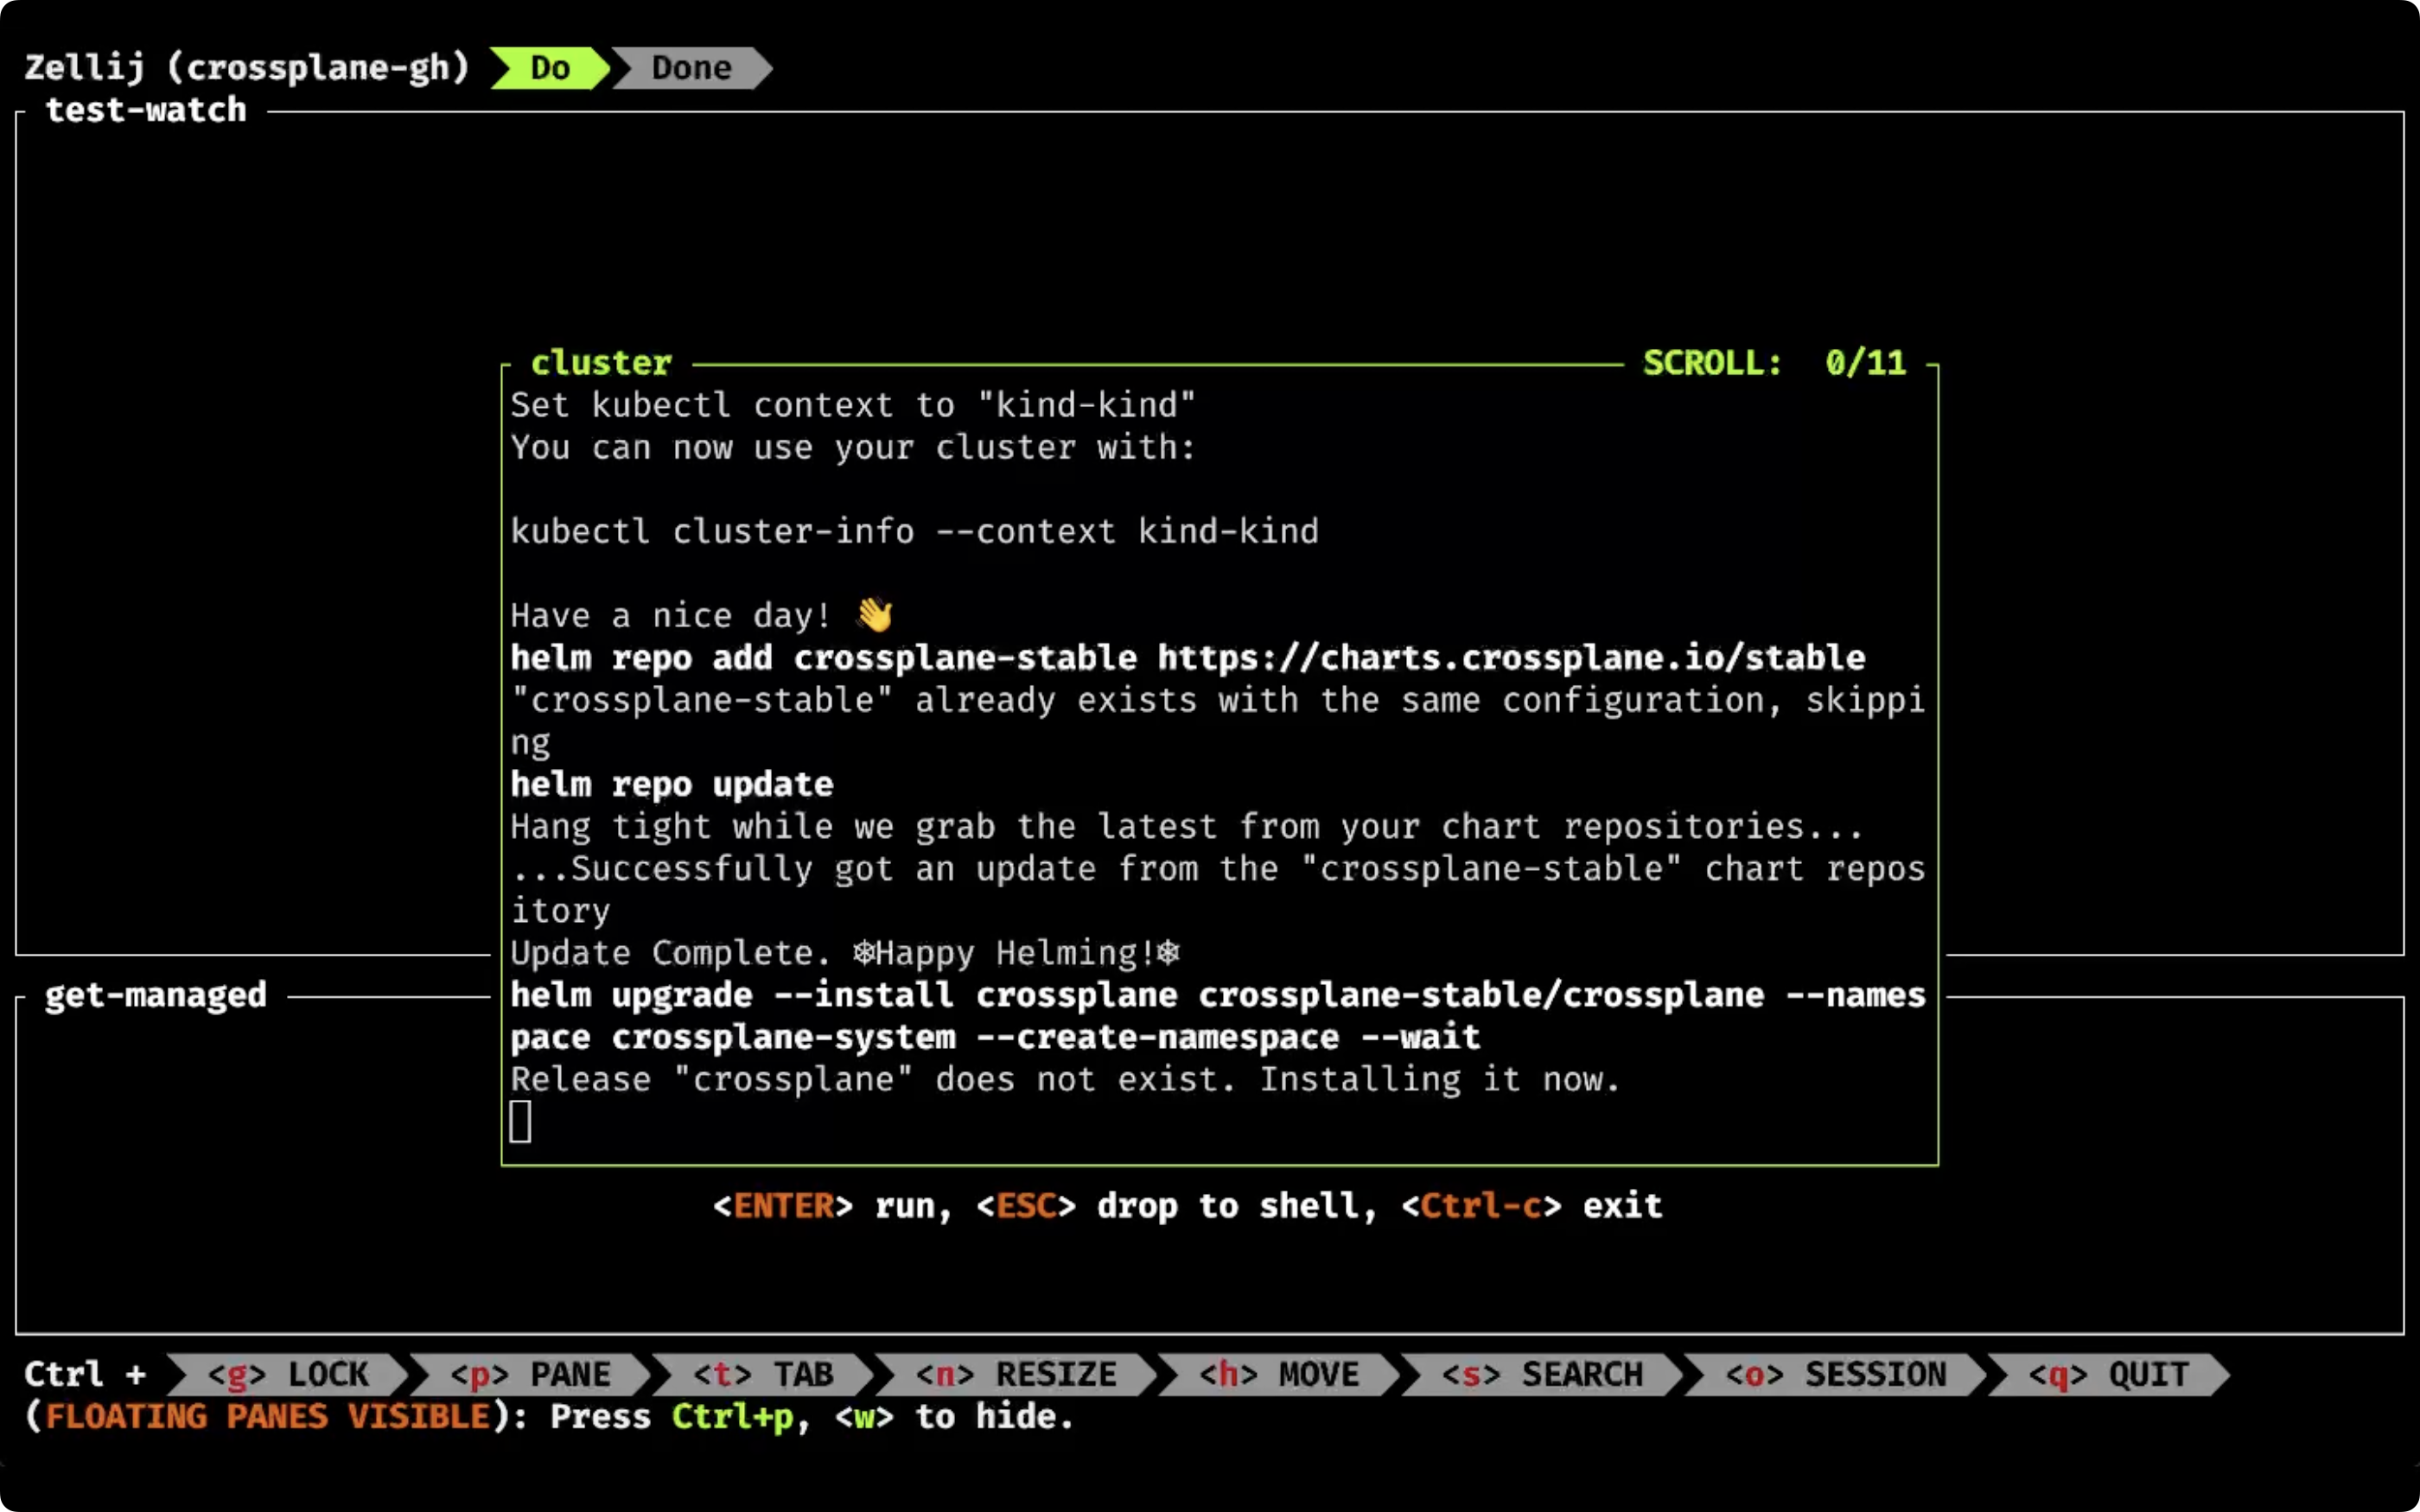
There’s everything I need, nicely split into tabs and panes.
Cluster is being created in a floating pane (cluster). If we fast forward a few moments, we can see that the floating pane dissapeared once the cluster is fully operational, leaving us with two panes.
The top one (test-watch) is waiting for me to press the enter key and, once I do, it starts running tests continuously. If I move to the bottom tab and press the enter key, it starts watching for managed resources.
Once I’m finished developing, I can switch to the second tab (Done) and press the enter key to destroy everything I created so far.
I’m done working and I haven’t even thouched my mouse. Everything I need is waiting for me and all the operations I performed were done through keyboard shortcuts.
The tool that enabled all that is Zellij.
Let’s talk about it.
What is Zellij?
Zellij describes itself as “A terminal workspace with batteries included.” That makes sense if you are not already familiar with tmux. If you are, you can think of Zellij as a better or, at least, easier version of it. On the other hand, if you are not already using or, at least, familiar with tmux it is a “terminal multiplexer”. That, probably, does not mean much, so let me explain what terminal multiplexers are.
Terminal multiplexers are types of applications that can be used to create pseudo terminal sessions.
Now, while I’m saying that I realized that “pseudo terminal sessions” might be confusing as well so let’s skip all the mambo jumbo type of explanations, and show you Zellij and, thought it how multiplexer terminals work and what they do.
Setup
git clone https://github.com/vfarcic/crossplane-kubernetes

cd crossplane-kubernetes

git checkout zellij
Make sure that Docker is up-and-running. We’ll use it to create a KinD cluster.
Watch https://youtu.be/WiFLtcBvGMU if you are not familiar with Devbox. Alternatively, you can skip Devbox and install all the tools listed in
devbox.jsonyourself.
devbox shellTerminal Multiplexing With Zellij
Let’s start a new zellij session.
zellij --session crossplane-kubernetes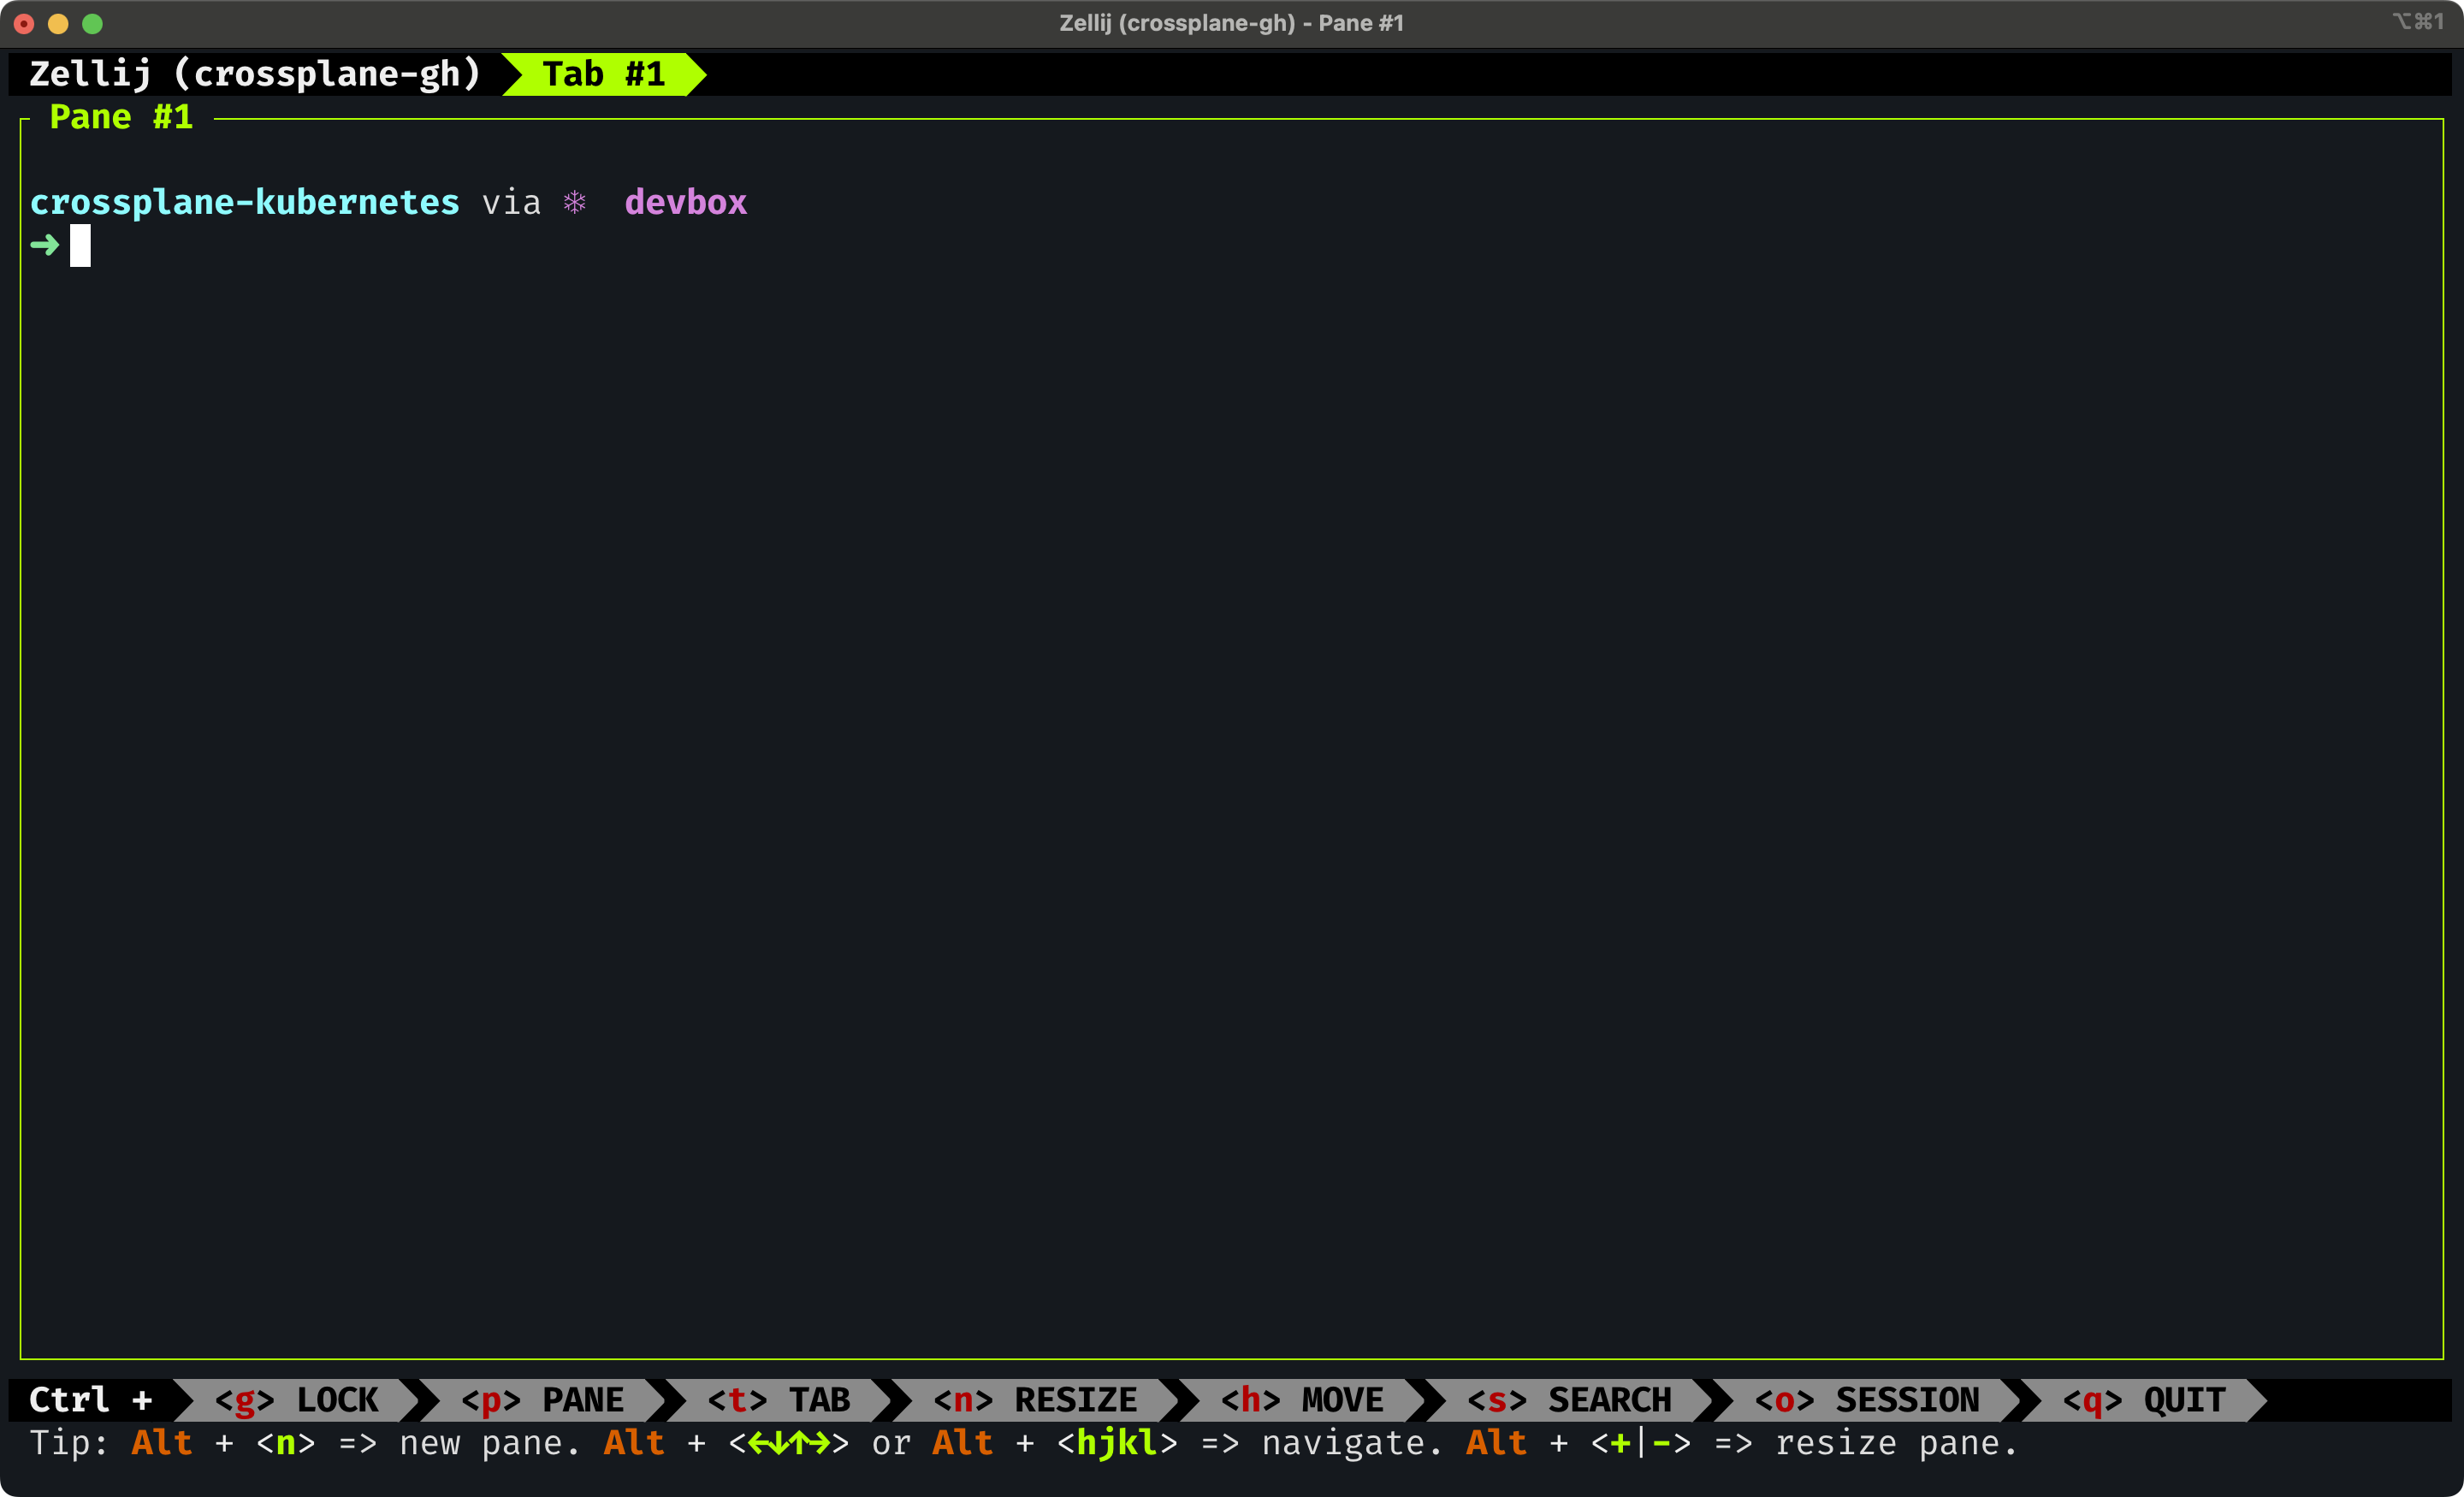
That does not look very exciting. It looks like a “normal” terminal session, except for the top and bottom panes.
At the top is the session name and the list of tabs, while the bottom pane contains the list of common shortcuts. We’ll explore both of those soon. For now, what matters is that you are in control and you can, for example, choose not to display the bottom pane with the shortcuts. Once you develop muscle memory you will probably not need it. We’ll keep it, for now.
From here on, we can execute commands just as we would in a normal terminal. When I start working on this specific project, the first action is to create a cluster and install and configure everything. I already automated all that with just, so let’s just execute it.
just cluster-create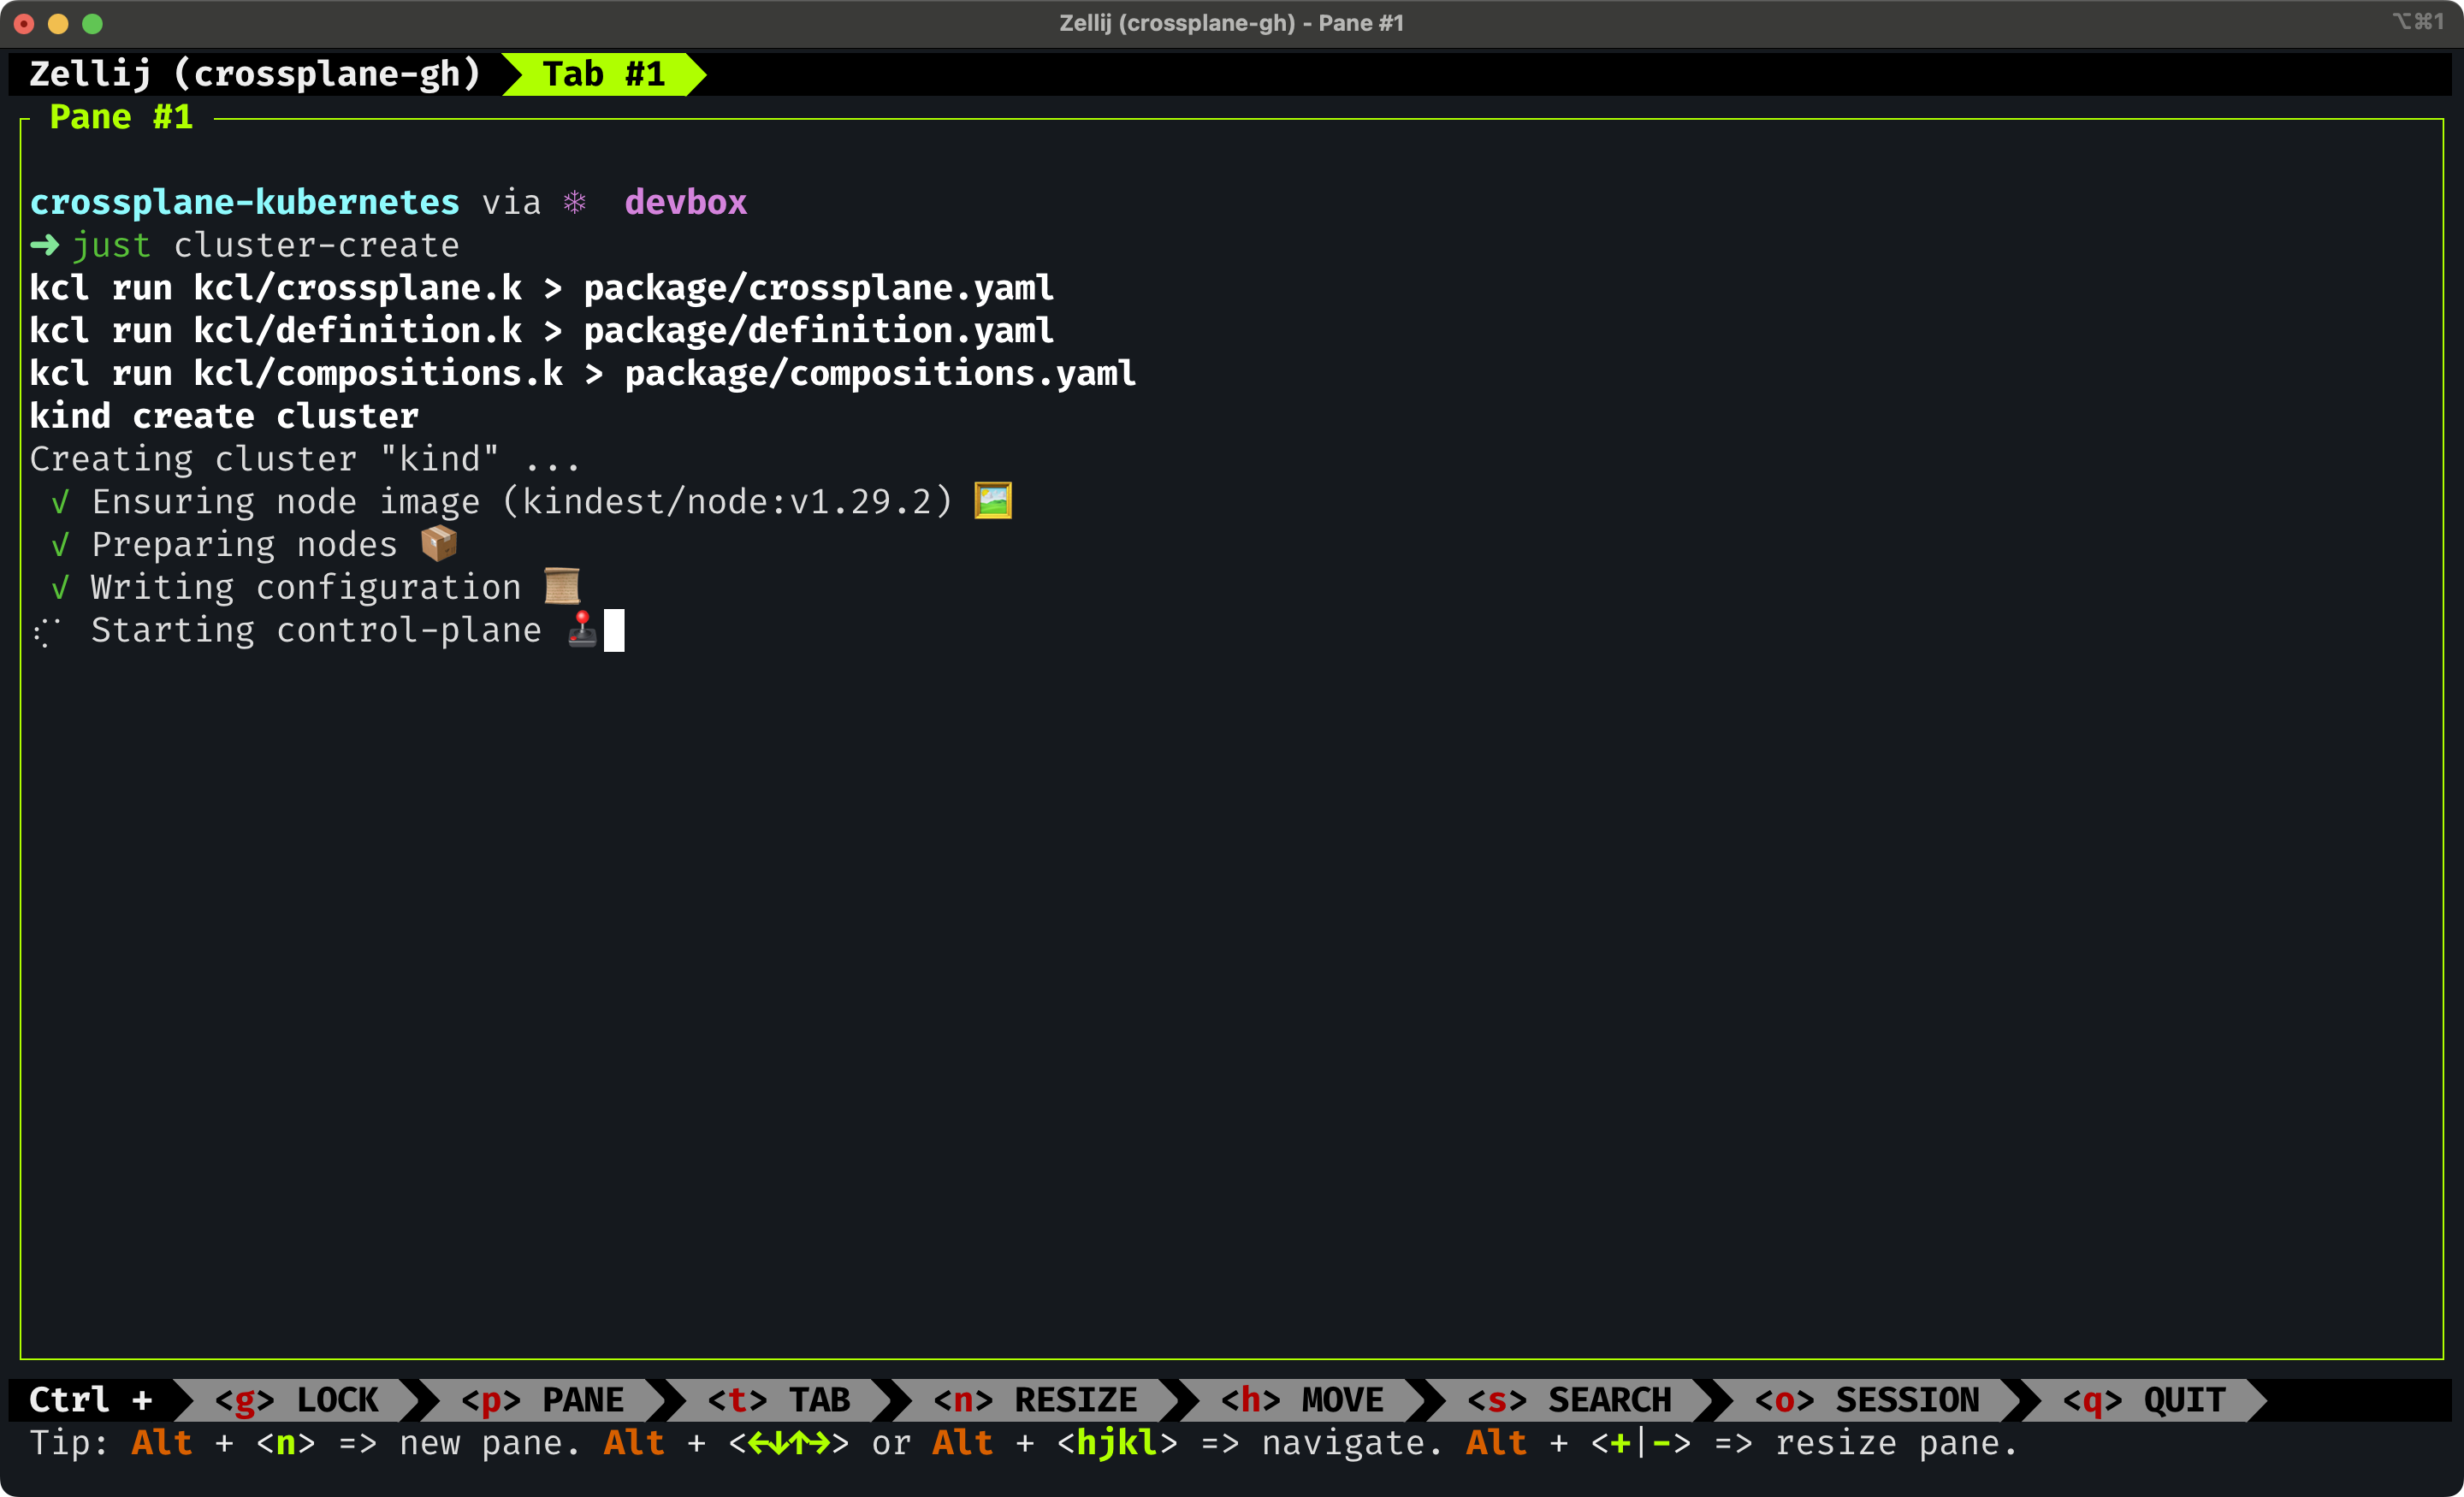
That operation will take a few minutes to complete, leaving me with two options. I can watch something on YouTube, or I can open a second tab and do some work while waiting for the current process to finish.
While watching YouTube is often a good idea, after all, that’s what you’re doing right now, I’ll go with the second option.
Pressing Ctrl + t gives us additional shortcuts related to operations related to tabs. We can see that <t> TAB is selected in the bottom menu and that some, not all, shortcuts related to tabs are listed below it.
Since we want to open a New tab, we can see that the shortcut is n, so let’s press it.
Press
Ctrl + tfollowed byn.
A new tab is opened and we can, for example, output README to see instructions related to this project.
cat README.md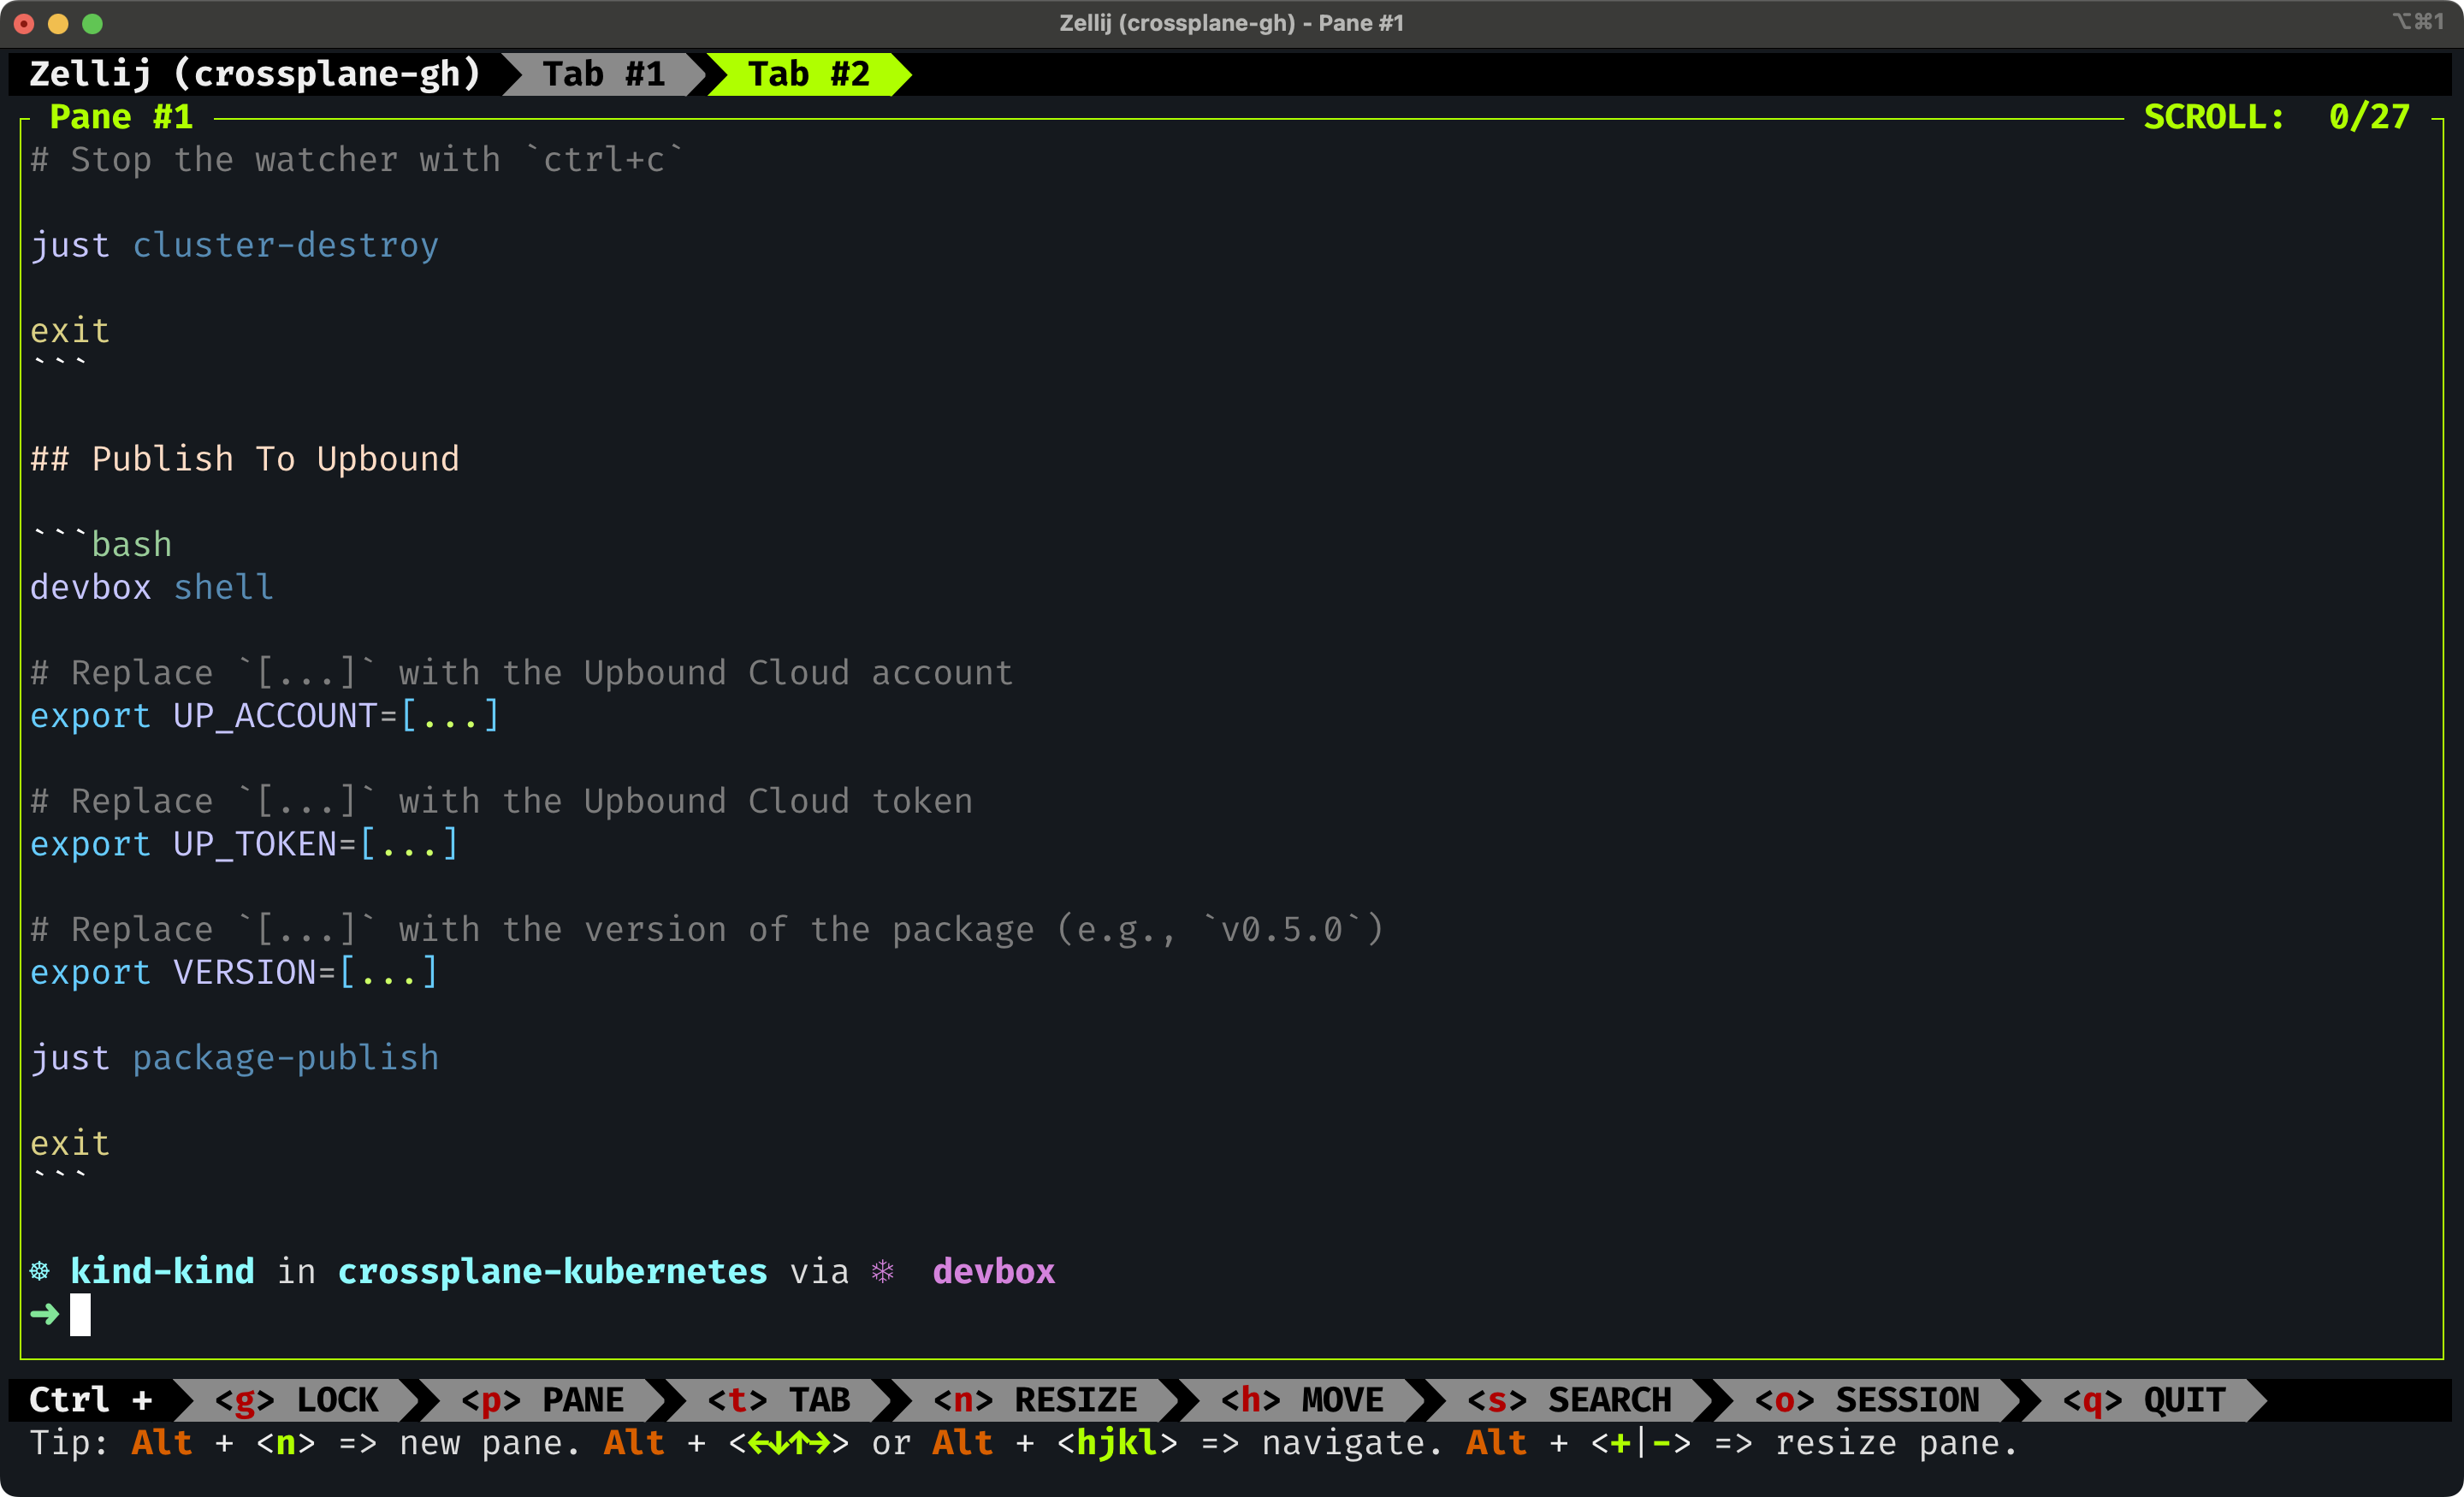
Now, let’s get back to the first tab by pressing Ctrl + t again. Now we can move between tabs by pressing left and right arrow keys so let me press the left arrow followed by the enter key to select the tab we selected.
Press
Ctrl + tfollowed by←. Press the enter key to select the pane.
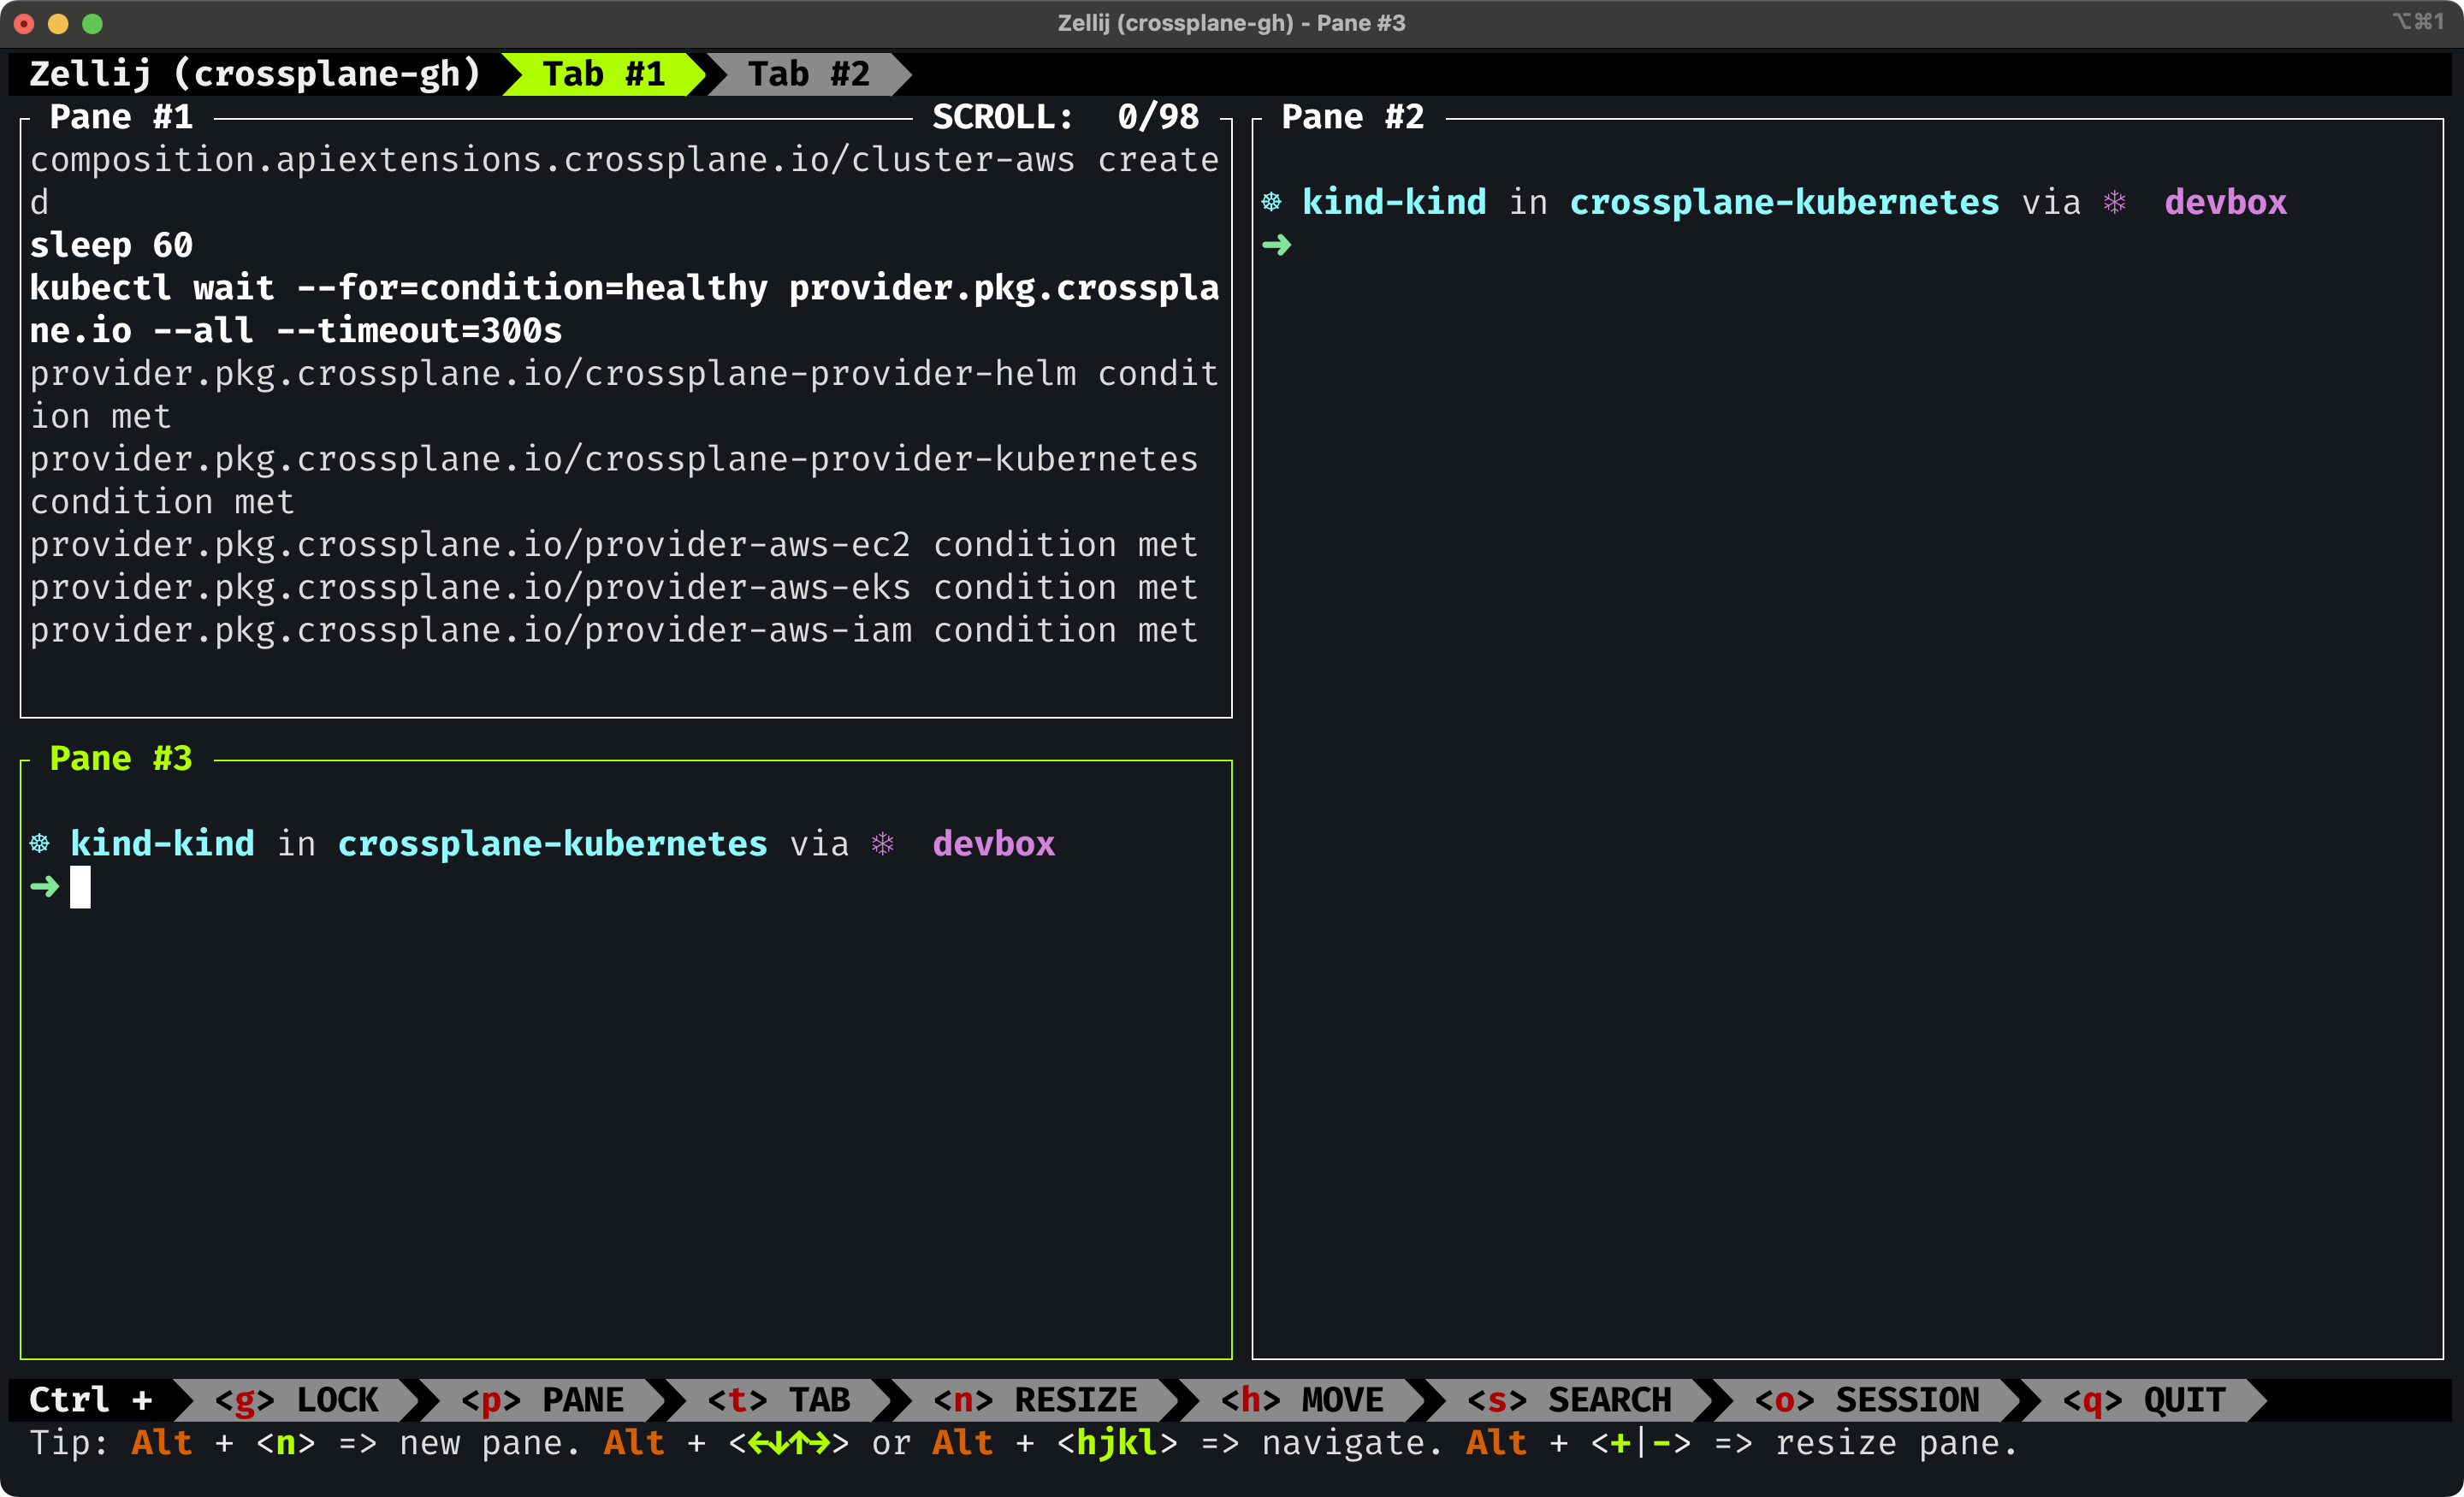
While the cluster is being created, we can open a second pane by pressing Ctrl + p and, just as with tabs, the n button to create a new one.
Press
Ctrl + pfollowed byn.
It might be nice to create a third pane below the first one so let’s press Ctrl + p to select panes, then the left arrow key to move to the left pane and, finally, d to create a new pane below it (or down from it).
Press
Ctrl + pfollowed by←andd.
Actually, this does not seem right. I don’t really need the pane on the right. Two panes split horizontally should be enough, for now. So, we’ll remove the right pane by pressing Ctrl + p, followed by the right arrow key to move to the right pane, and x to remove it.
Press
Ctrl + pfollowed by→andx.
Something might be wrong with the packages that are being deployed to the cluster, so let’s check them out.
kubectl get pkgrev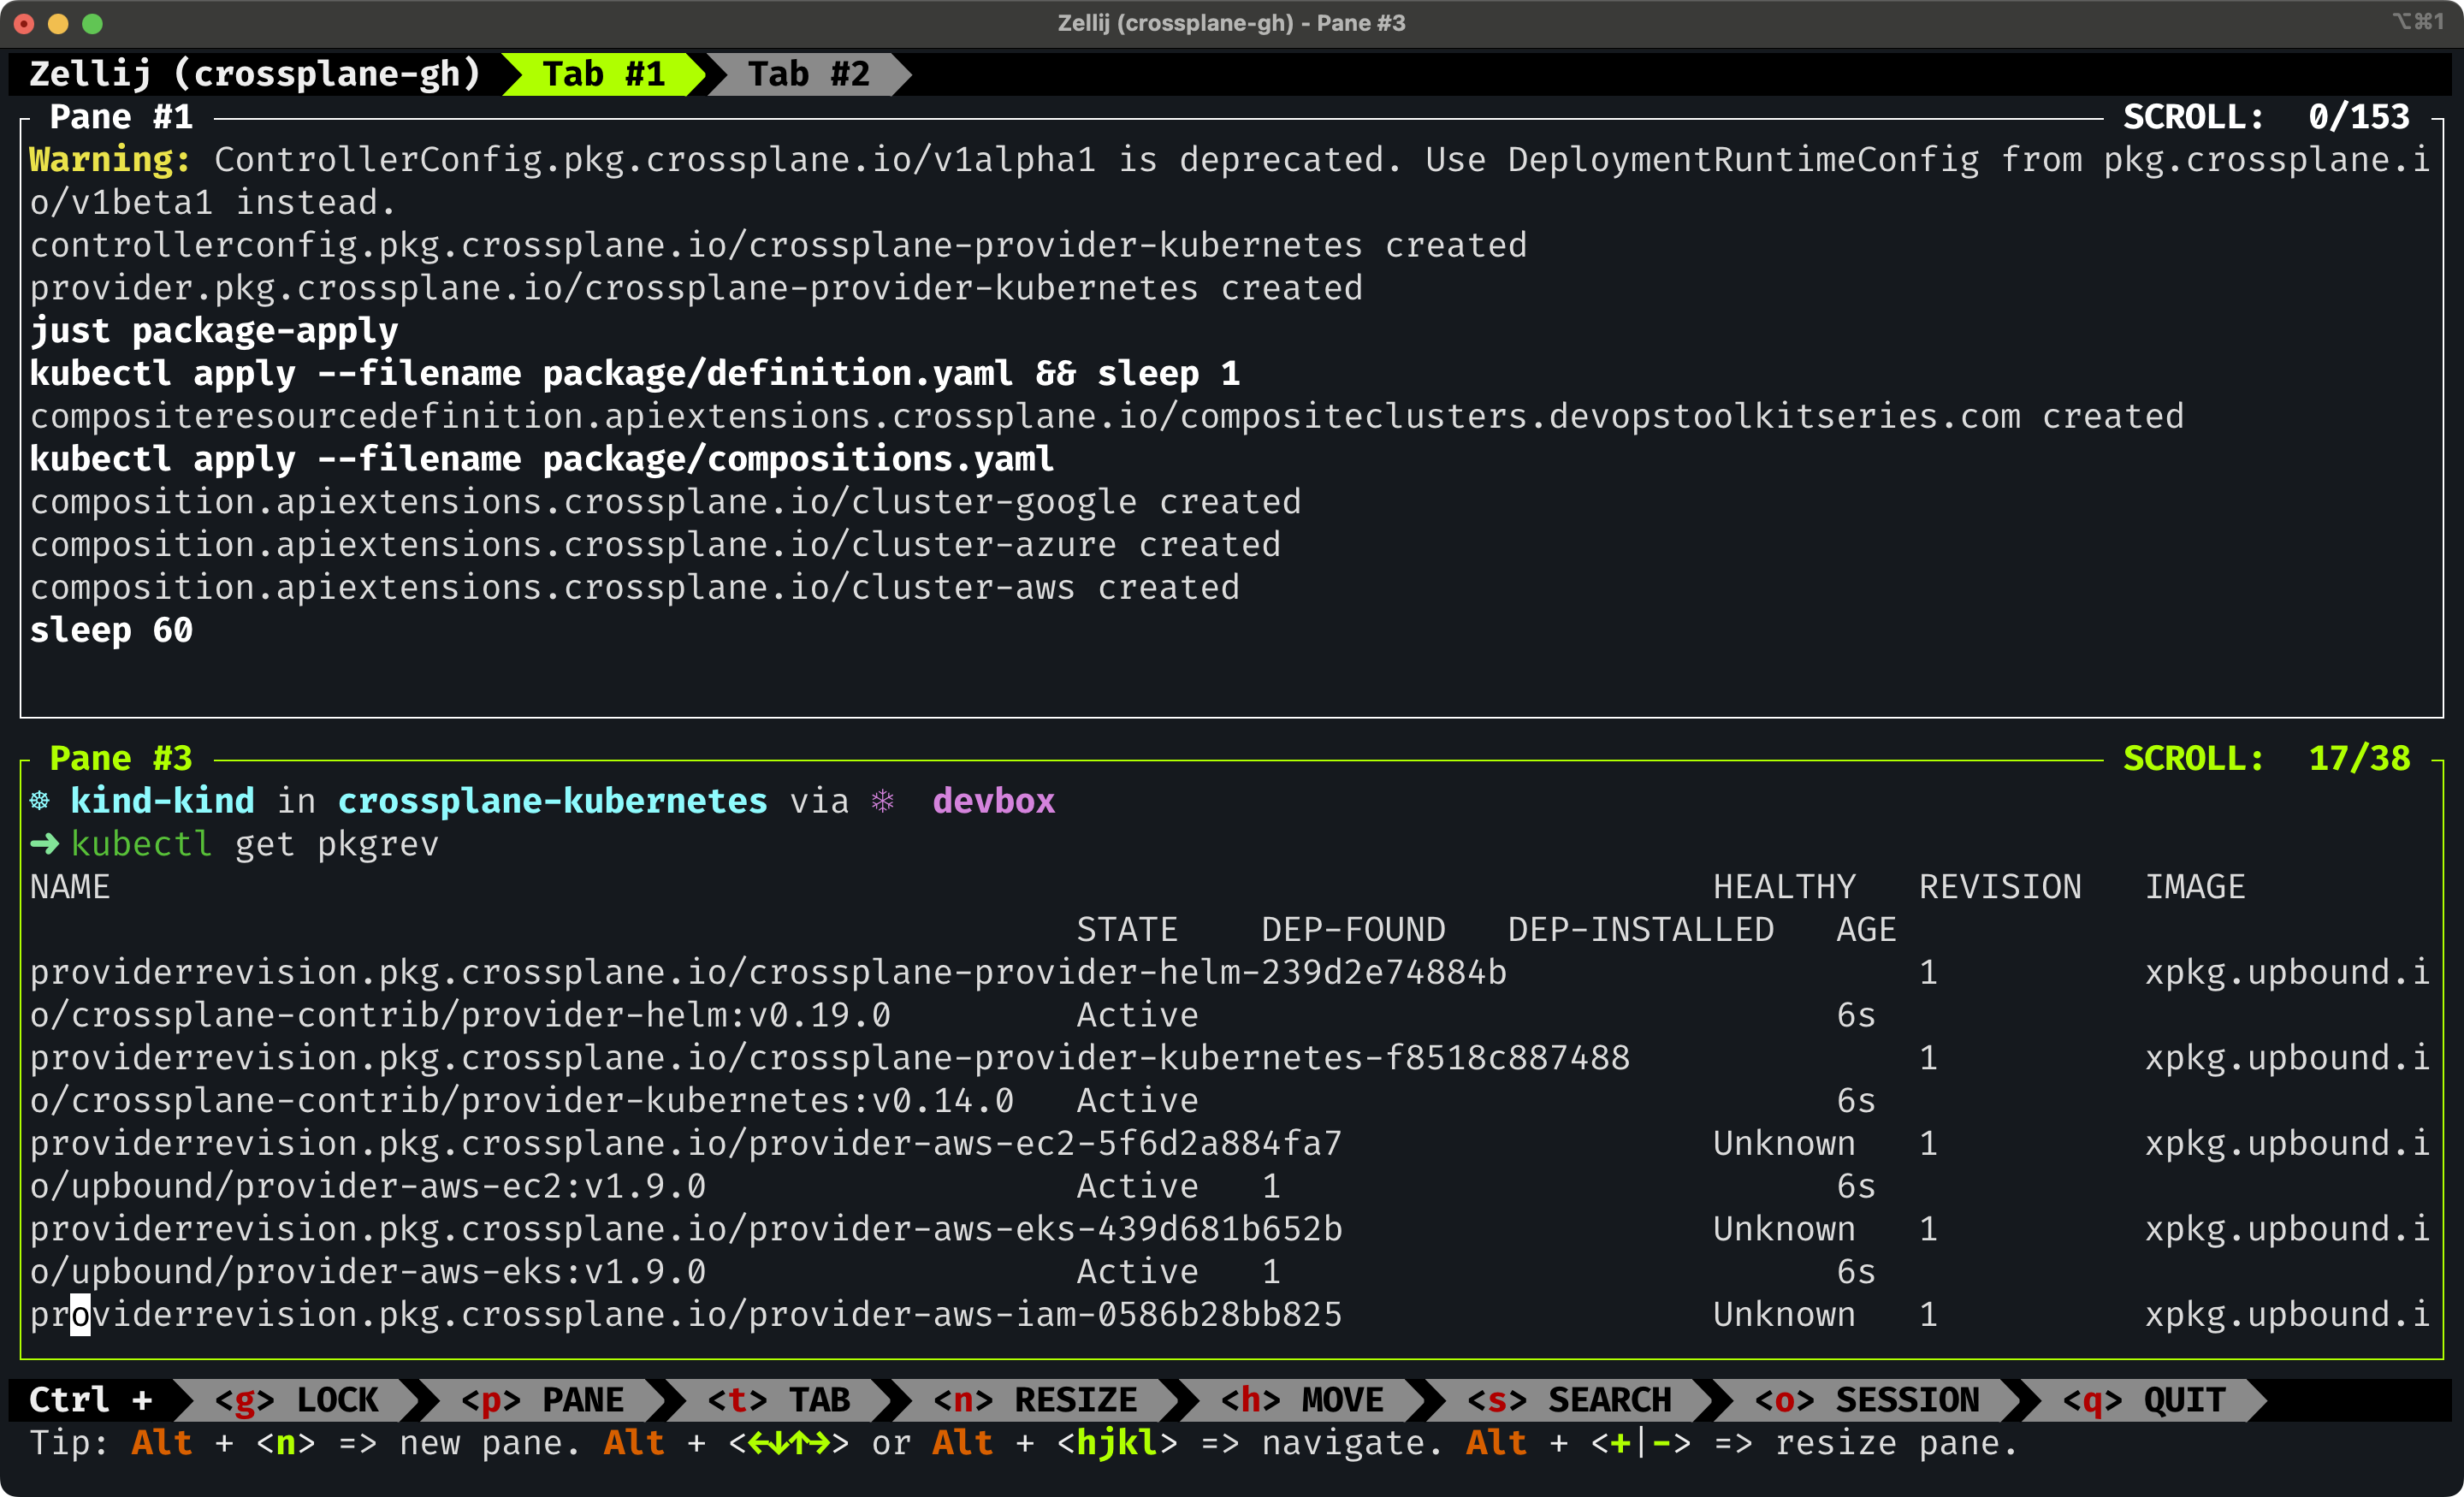
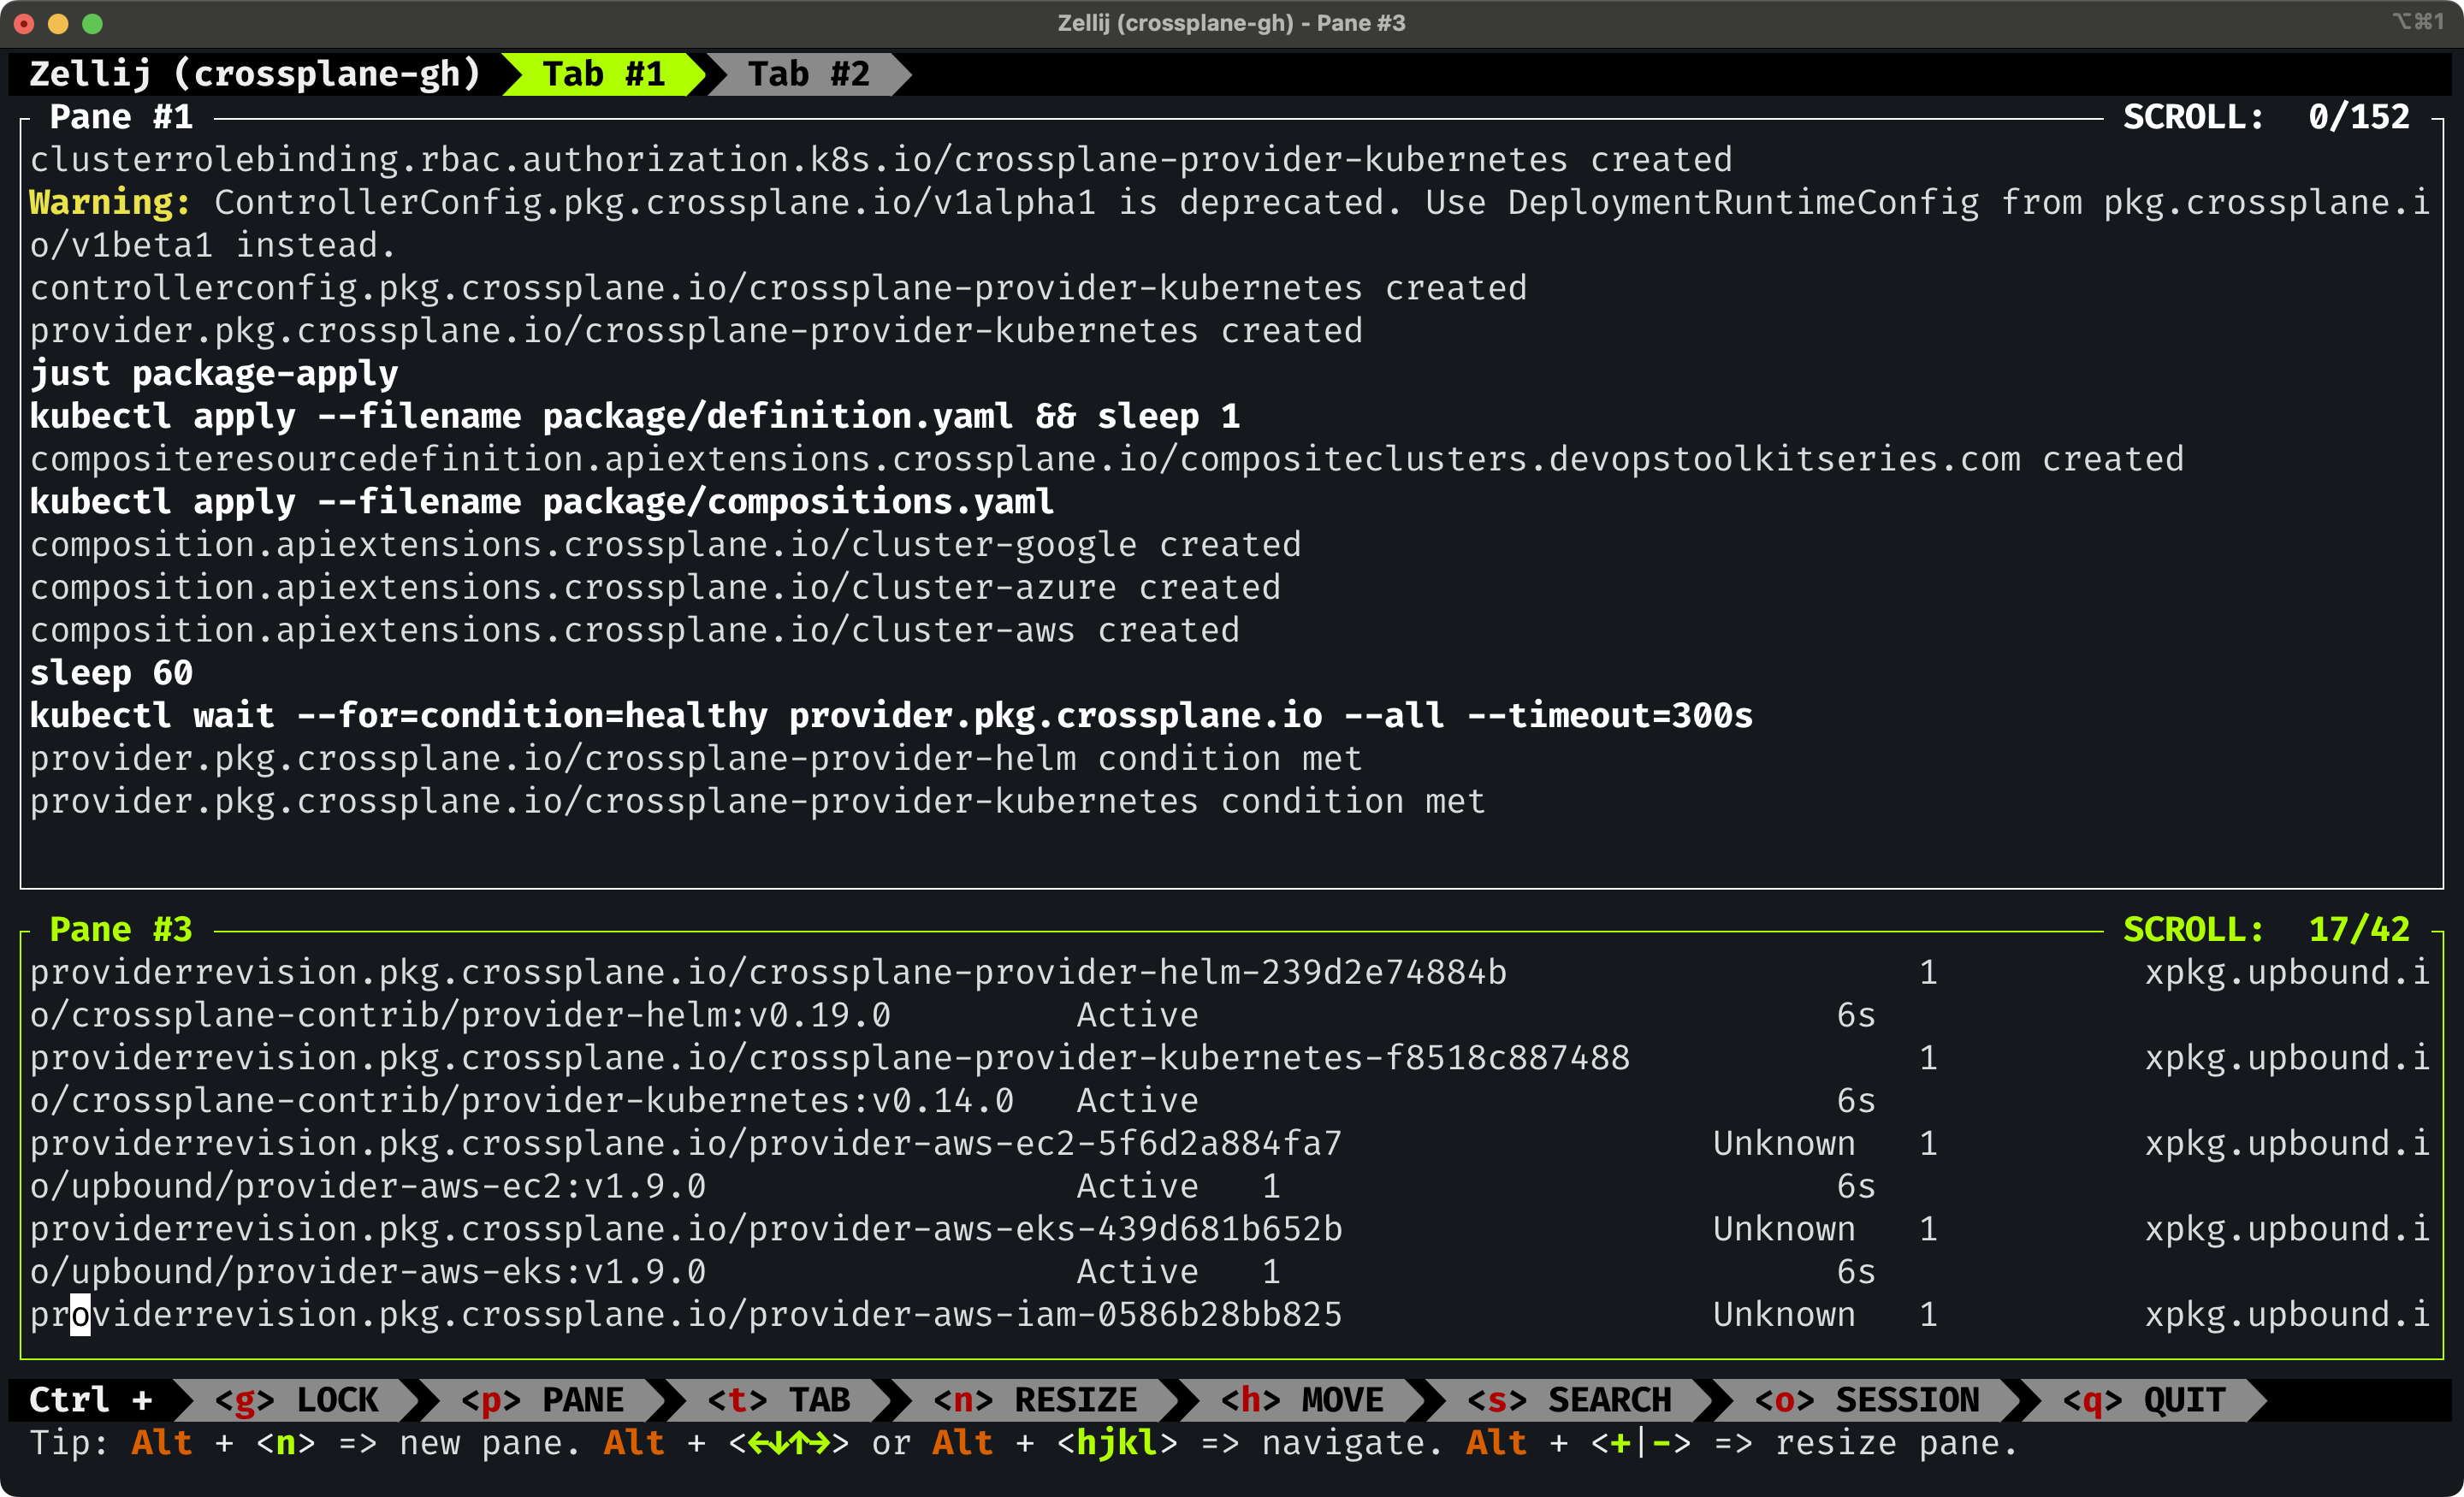
It seems okay, but we might not need the lower pane to be half of the screen. Let’s reduce it’s size by pressing Ctrl + n to resize it, followed with the bottom arrow. Once we’re done making it smaller, we can press the enter key to select that pane.
Press
Ctrl + nfollowed by↓. Press the enter key to select the pane.
By now, the cluster should be fully operational, so let’s move to the top pane by pressing Ctrl + p, the arrow key up, and the enter key to select it.
Press
Ctrl + pfollowed by↑. Press the enter key to select the pane.
Now we can run test watcher.
just test-watch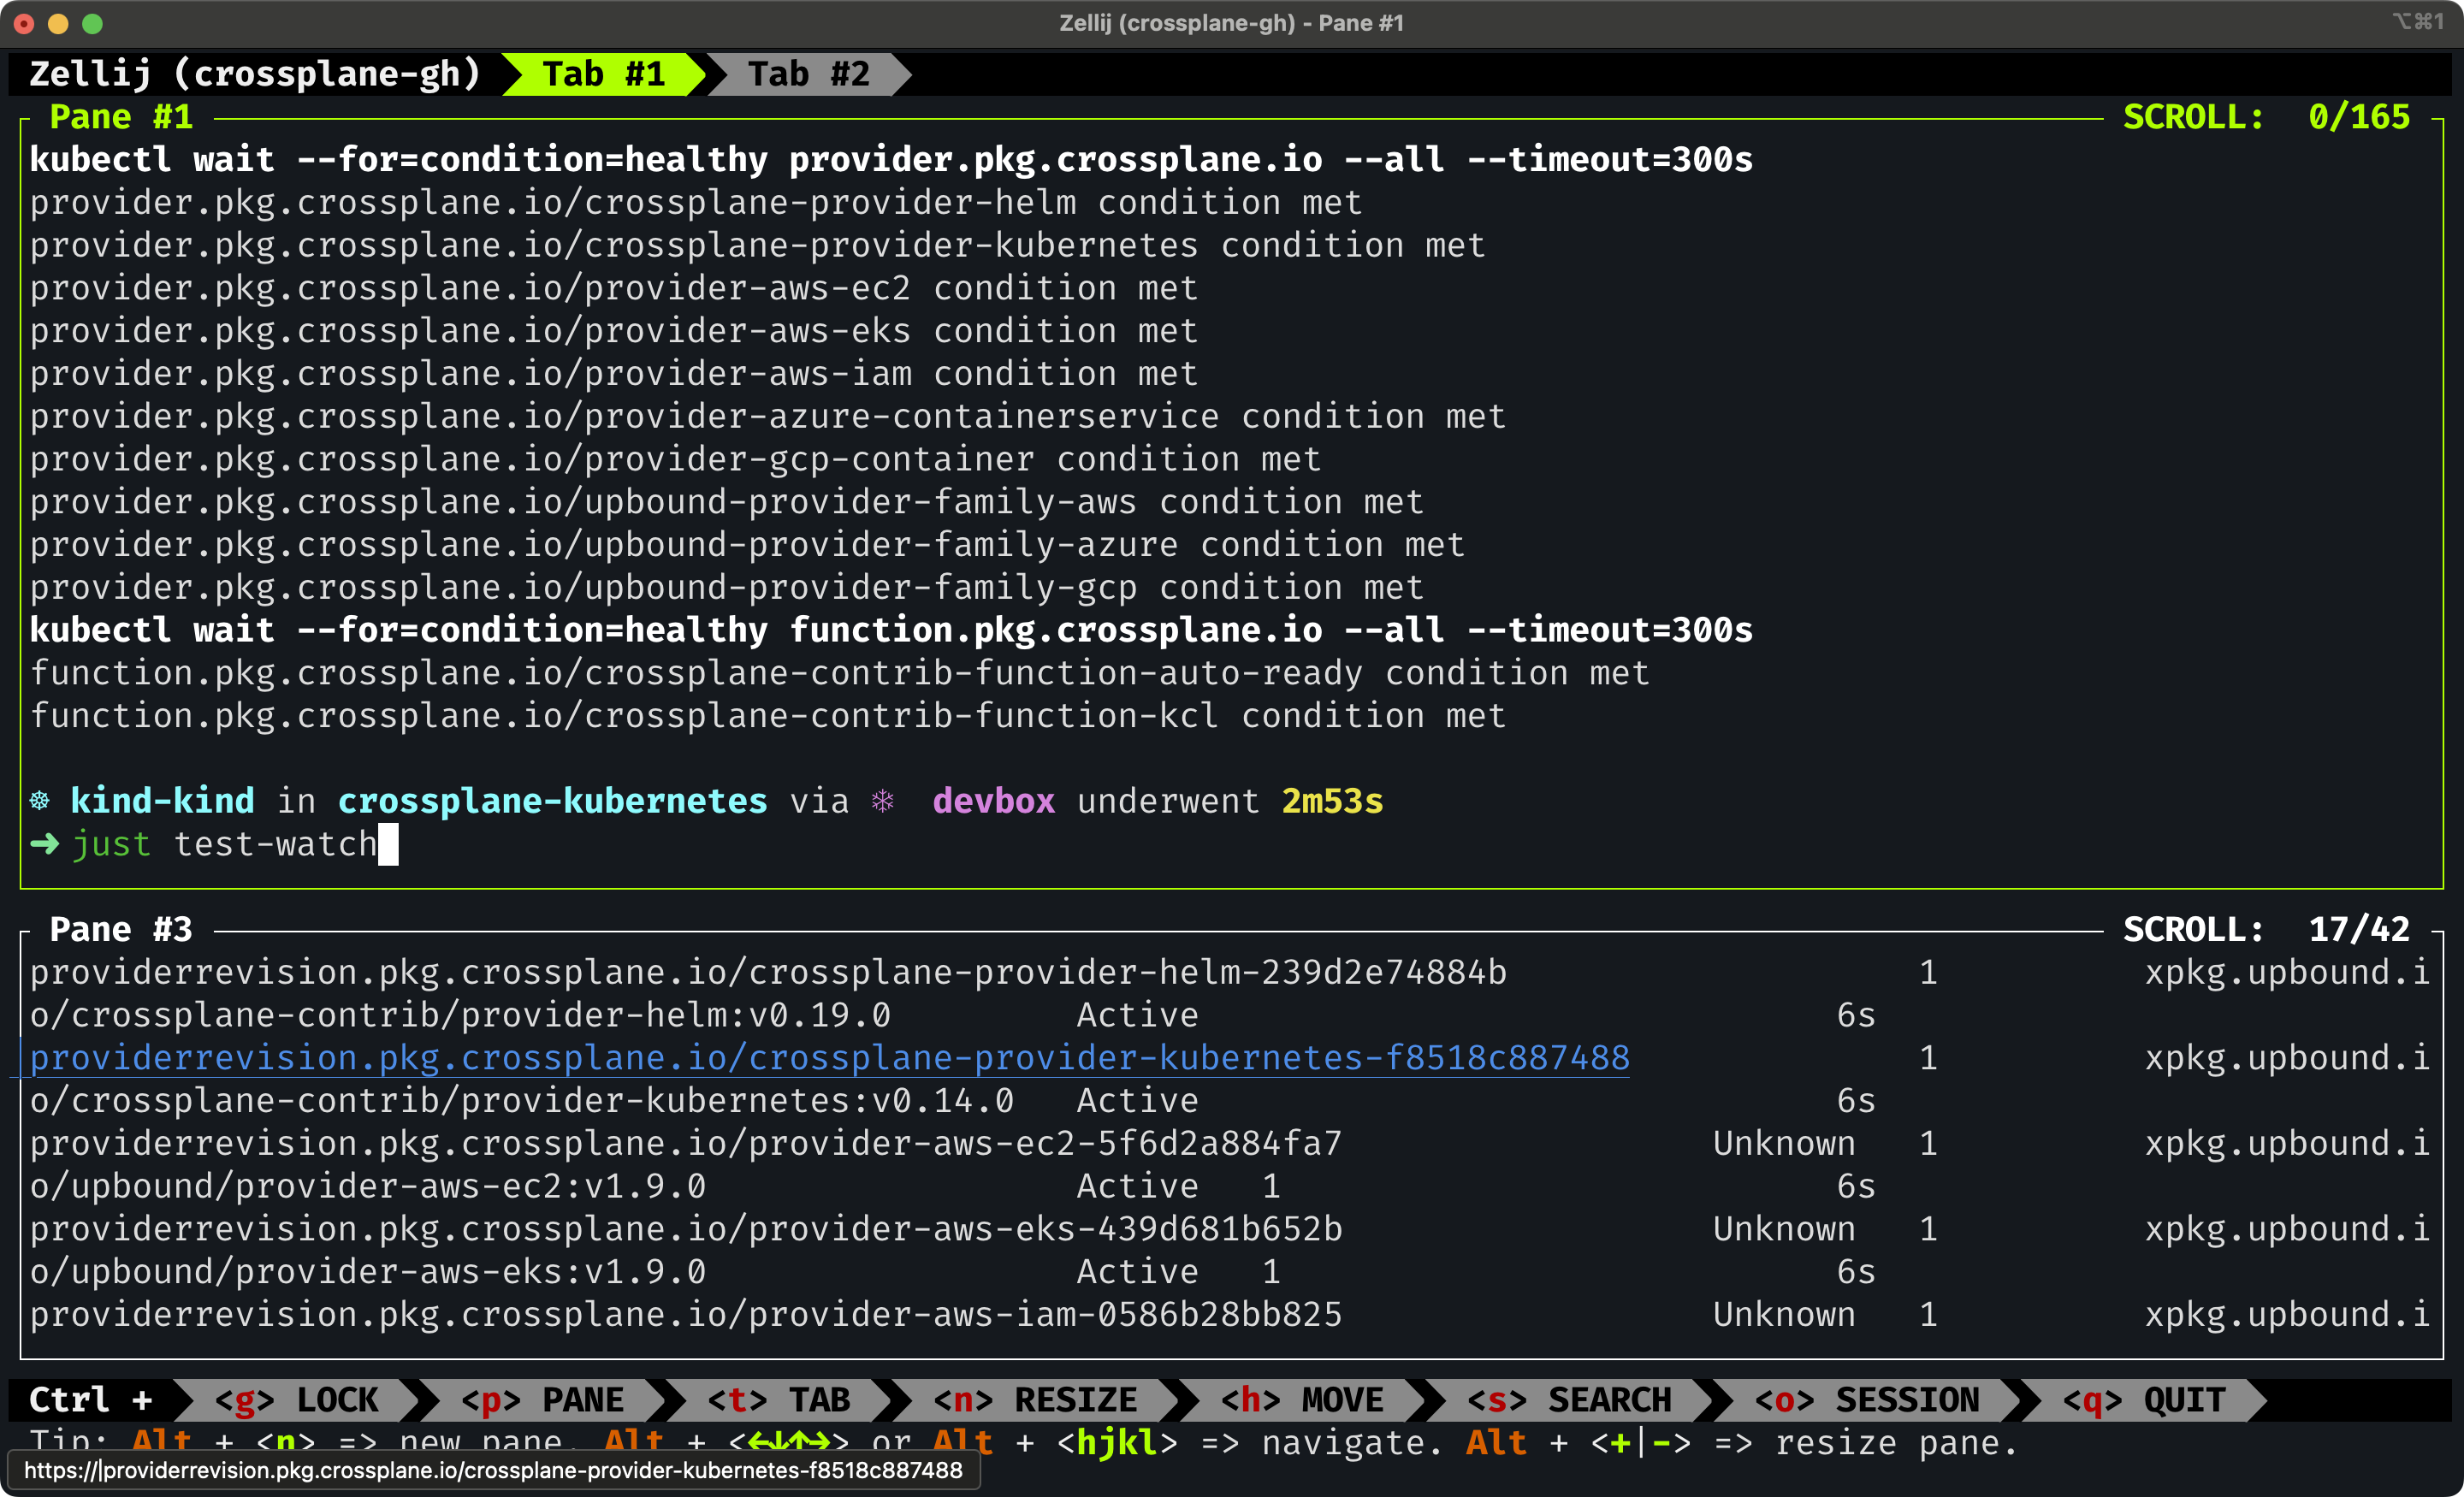
Since my tests are creating some managed resources before running asserts, I often want to see which resources are created. So, we’ll move to the bottom pane and you already know how to do that. Press the Ctrl + p button followed by the arrow down key and the enter key to select the pane.
Press
Ctrl + pfollowed by↓. Press the enter key to select the pane.
Now we can watch managed resources by executing viddy, which is a watcher, and kubectl get managed.
viddy kubectl get managed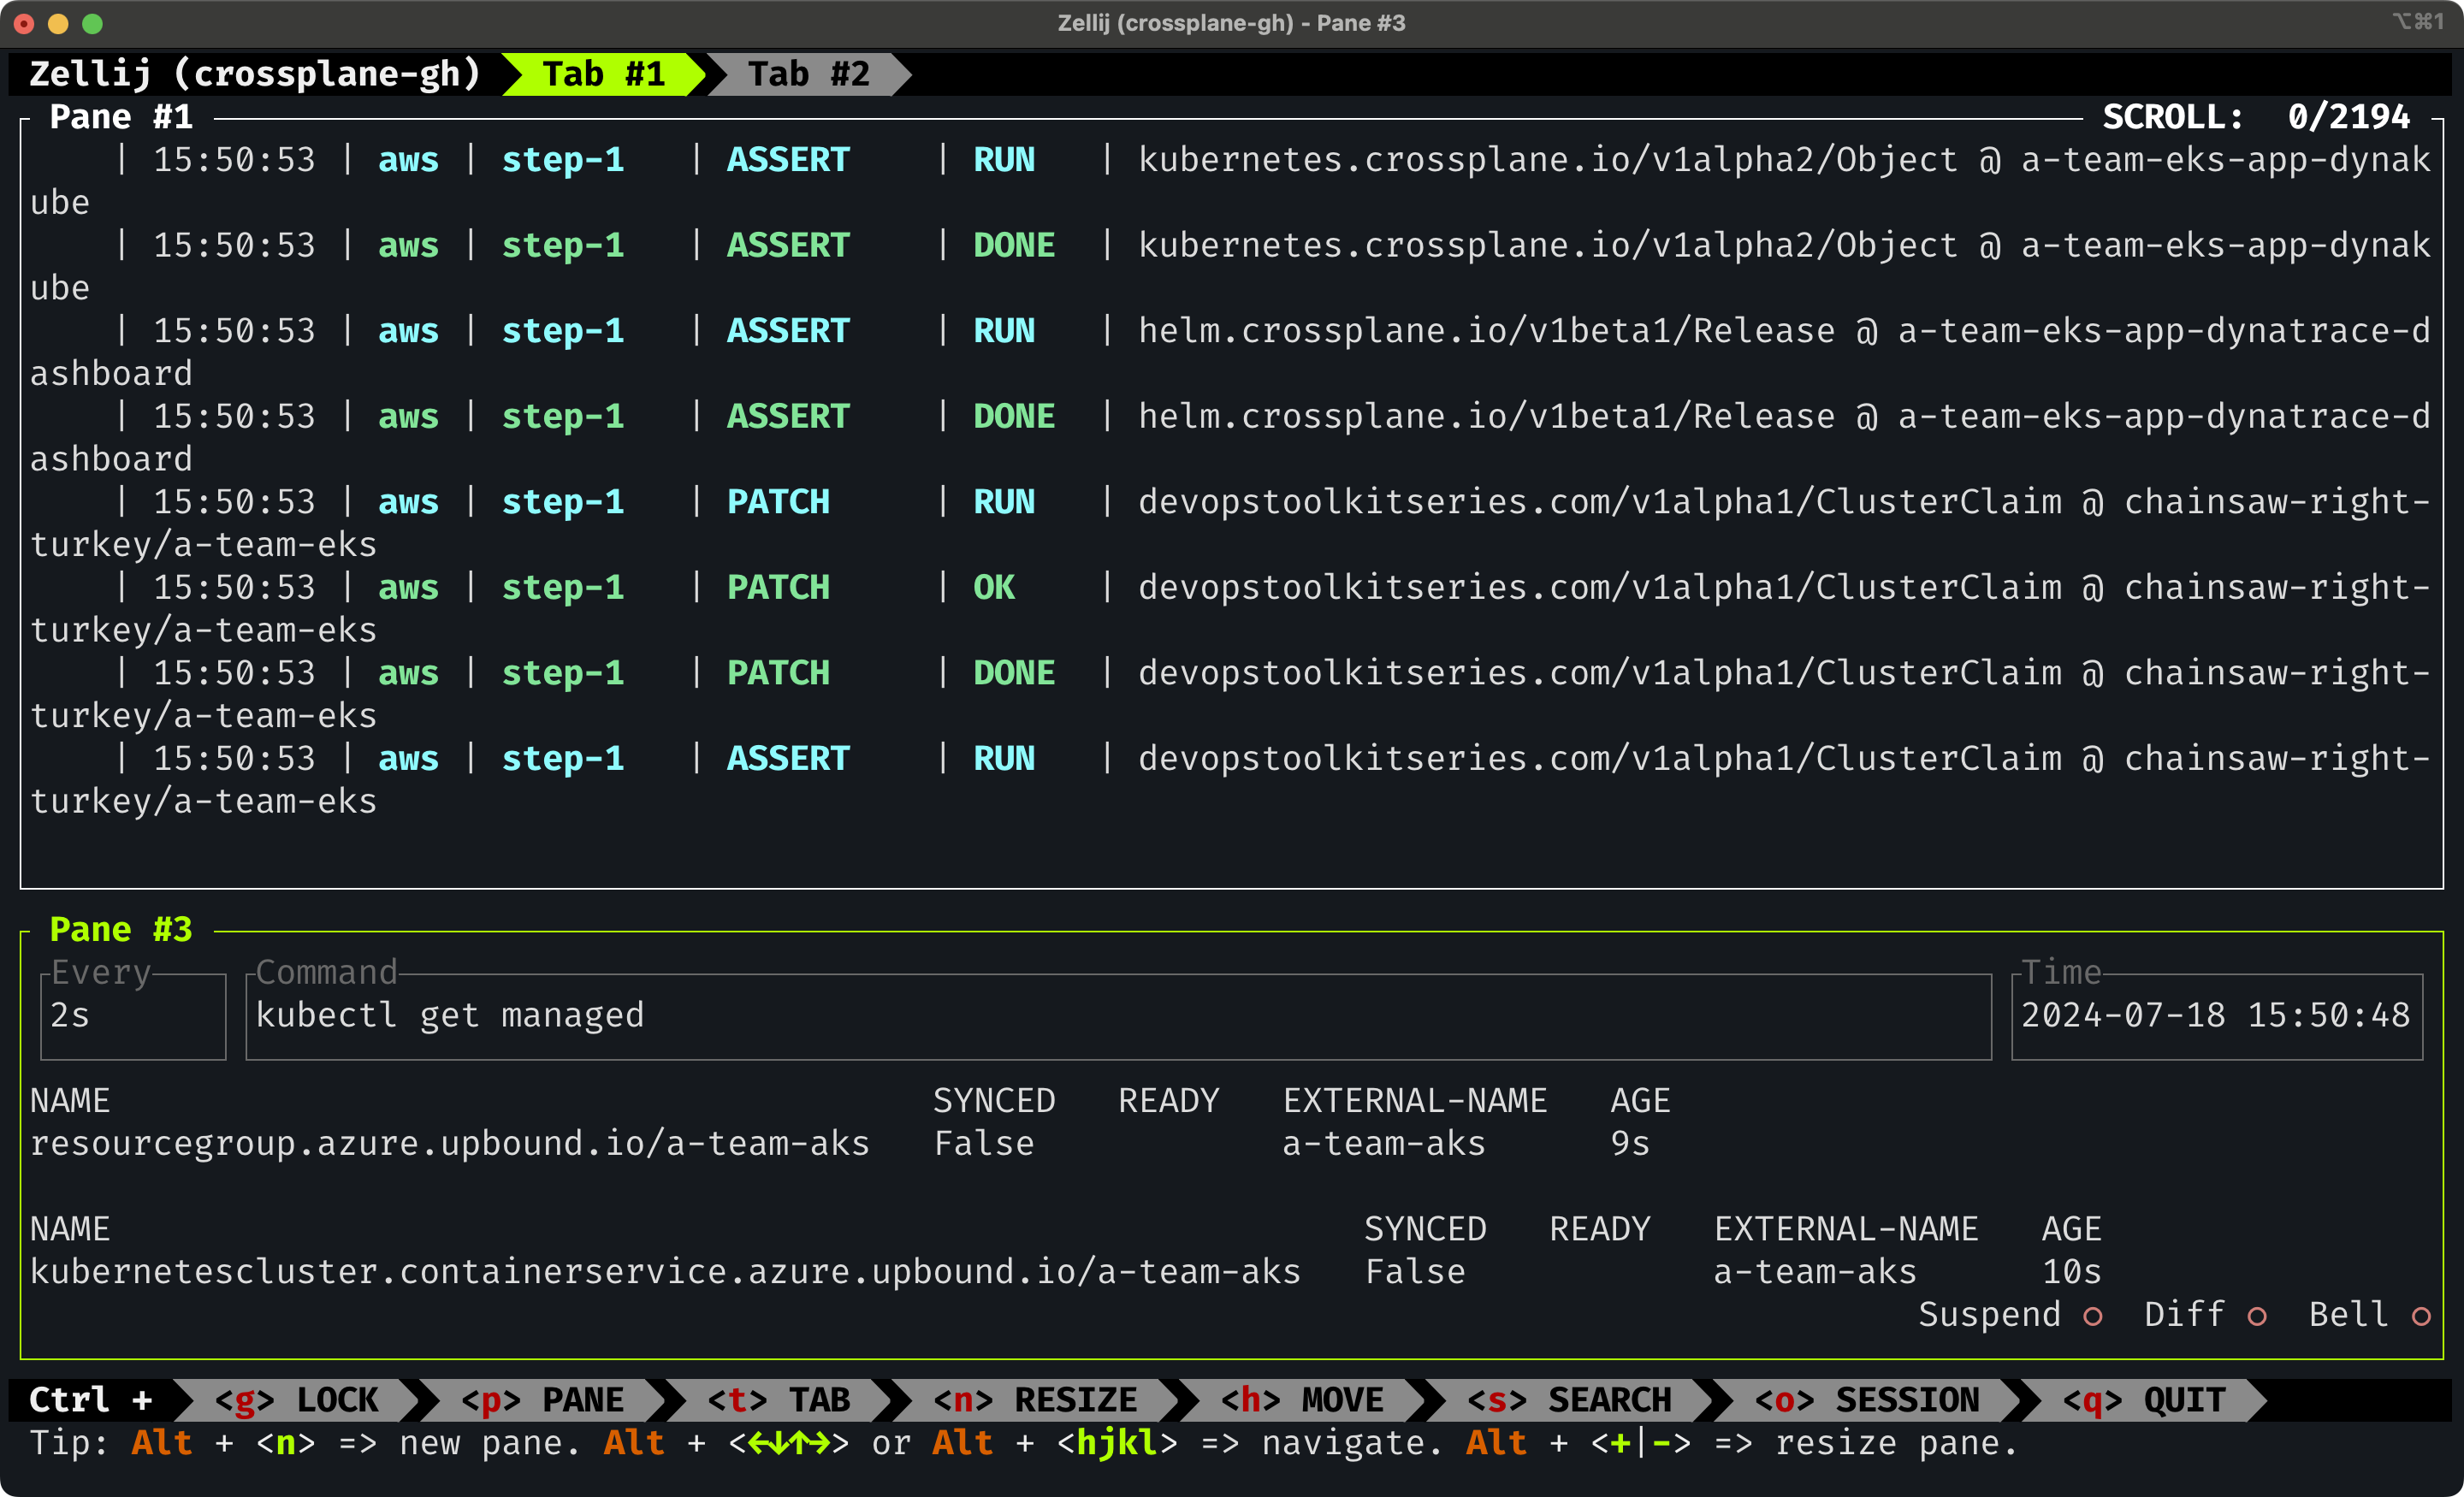
Let’s say that we would like to take a closer look at the tests in the top pane by putting it into the full screen mode. We can do that by pressing Ctrl + p followed with the arrow key up to move up and pressing f for fullscreen.
Press
Ctrl + pfollowed by↑andf.
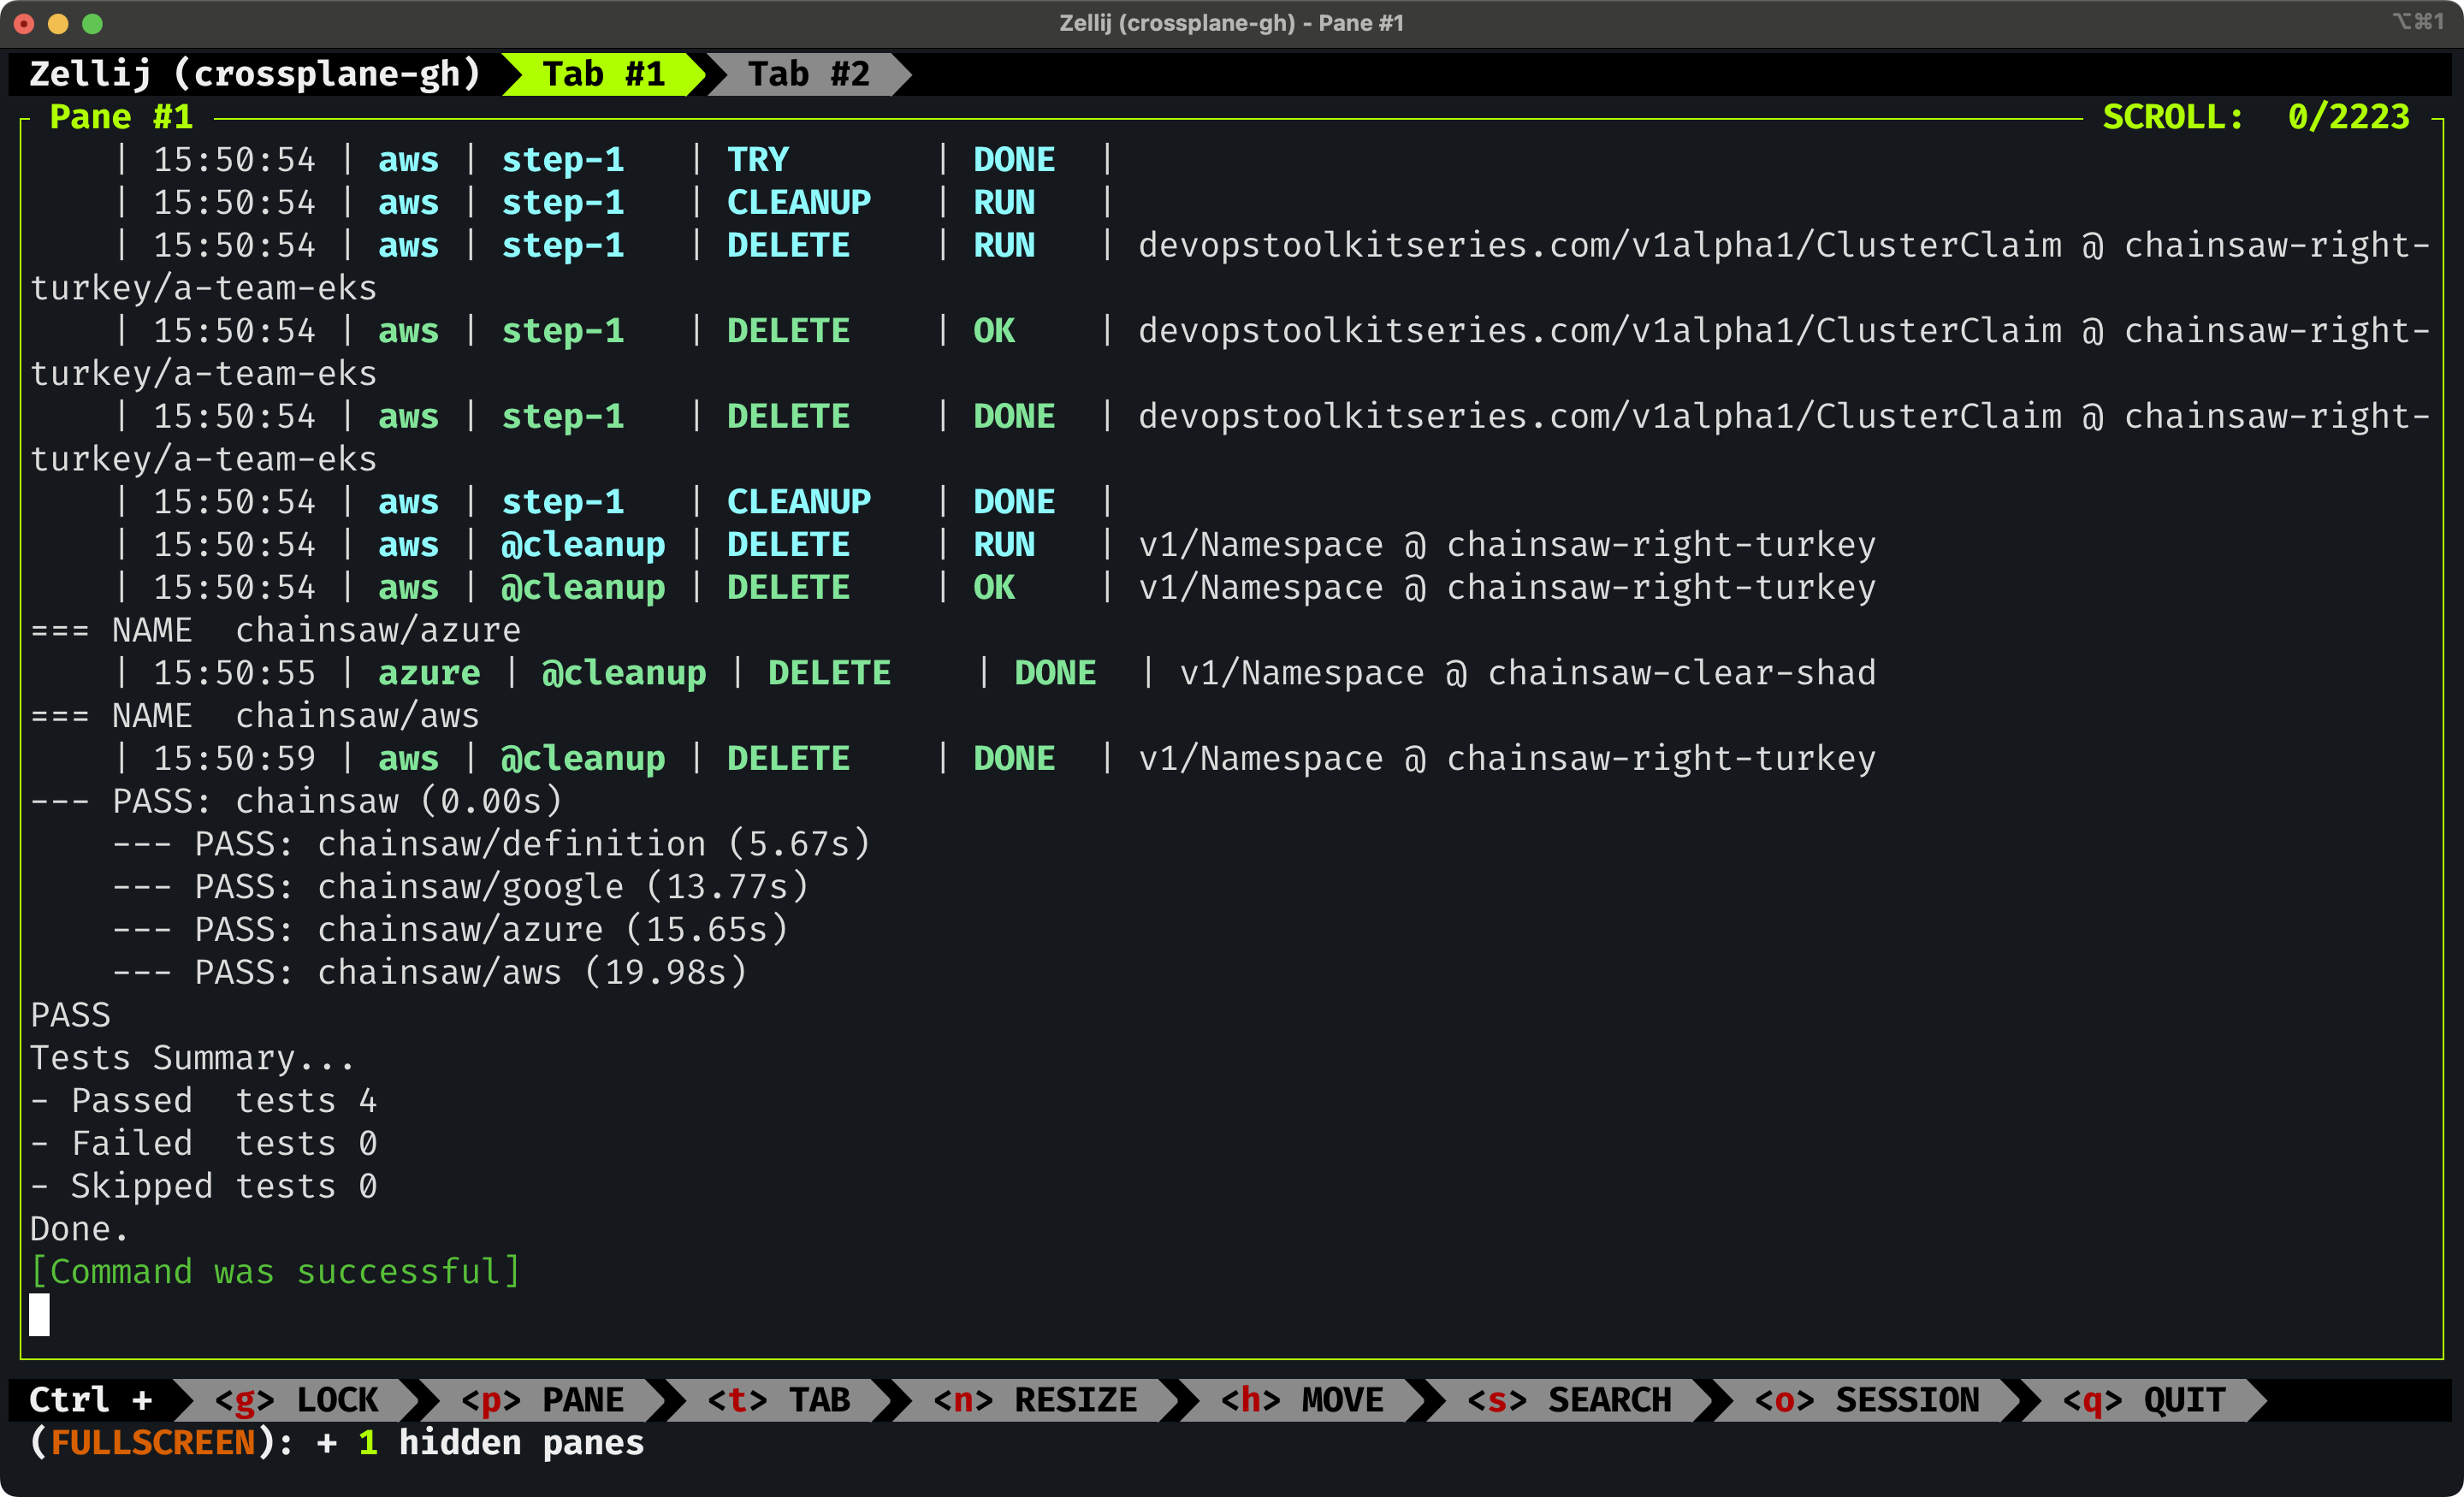
The top pane now occupies almost the entire screen.
Once we’re finished marveling at the test results, we can go out of the full screen by repeating the process; Ctrl + p followed by f.
Press
Ctrl + pfollowed byf.
We can also move panes by pressing Ctrl + h followed by the arrow key down to move the top pane down.
Press
Ctrl + hfollowed by↓. Press the enter key to select the pane.
Once we’re finished, we can get out of the current session by pressing Ctrl + o followed by d to detach from it.
Press
Ctrl + ofollowed byd.
The output is as follows.
Session detachedThe important note is that we did not close the session but only detached from it. It’s still there, we’re just not attached from it.
We can confirm that’s truly the case by listing all the sessions.
zellij list-sessionsThe output is as follows.
crossplane-kubernetes [Created 16m 16s ago]There is only one session. Once you start working with Zellij, you’ll probably have many detached sessions and you will be able to attach to any of them and continue where you left.
Since we have only one detached session, we can attach back to it by executing zellij attach without specifying the name of the session we want to attach to.
zellij attach
We can see that both panes are still running processes that were active before we detached from the session.
So far, we used the default shortcuts and plugins. I like sane defaults and rarely change them, so my Zellij configuration is untouched (for now). If we do want to remap some bindings or add some plugins, all we have to do is create a new config file. But, since its silly to start from scratch, we can dump the existing configuration to a file and modify it.
Since both panes in the first tab are doing something or, to be more precise, waiting for something, we’ll switch to the second tab by pressing Ctrl + t followed by the arrow right key to move to the right tab and the enter key to select the only pane in it.
Press
Ctrl + tfollowed by→. Press the enter key to select the pane.
Now we can get the current config by executing zellij setup --dump-config.
zellij setup --dump-configThe output is as follows (truncated for brevity).
keybinds {
    ...
    pane {
        bind "Ctrl p" { SwitchToMode "Normal"; }
        bind "h" "Left" { MoveFocus "Left"; }
        bind "l" "Right" { MoveFocus "Right"; }
        bind "j" "Down" { MoveFocus "Down"; }
        bind "k" "Up" { MoveFocus "Up"; }
        bind "p" { SwitchFocus; }
        bind "n" { NewPane; SwitchToMode "Normal"; }
        bind "d" { NewPane "Down"; SwitchToMode "Normal"; }
        bind "r" { NewPane "Right"; SwitchToMode "Normal"; }
        bind "x" { CloseFocus; SwitchToMode "Normal"; }
        bind "f" { ToggleFocusFullscreen; SwitchToMode "Normal"; }
        bind "z" { TogglePaneFrames; SwitchToMode "Normal"; }
        bind "w" { ToggleFloatingPanes; SwitchToMode "Normal"; }
        bind "e" { TogglePaneEmbedOrFloating; SwitchToMode "Normal"; }
        bind "c" { SwitchToMode "RenamePane"; PaneNameInput 0;}
    }
    ...
}

plugins {
    tab-bar location="zellij:tab-bar"
    status-bar location="zellij:status-bar"
    strider location="zellij:strider"
    compact-bar location="zellij:compact-bar"
    session-manager location="zellij:session-manager"
    welcome-screen location="zellij:session-manager" {
        welcome_screen true
    }
    filepicker location="zellij:strider" {
        cwd "/"
    }
}

..
// on_force_close "quit"
...
// simplified_ui true
..
// default_shell "fish"
...
// theme "default"
We can see all the key bindings, the list of plugins, and some general settings like whether to detach or quit on forced close, whether to use a simplified UI, the default Shell, the theme, and so on and so forth.
If we’d send the output of that file to ~/.config/zellij/config.kdl all we’d have to do is change any of those parameters and… enjoy.
Now, let’s say that we’re finished working and would like to destroy the cluster we created. We could do that by moving to the first tab. Instead of using arrow keys, we’ll do that slightly differently this time. We’ll press Ctrl + t followed by number 1.
Press
Ctrl + tfollowed by1.
That is especially useful if we have many tabs. If we’d like to move from the first to the fifth tab, instead of pressing the arrow right key four times, we can just press 5.
Next, we’ll press Ctrl + c to stop watching tests,…
Press
Ctrl + cto stop watching tests.
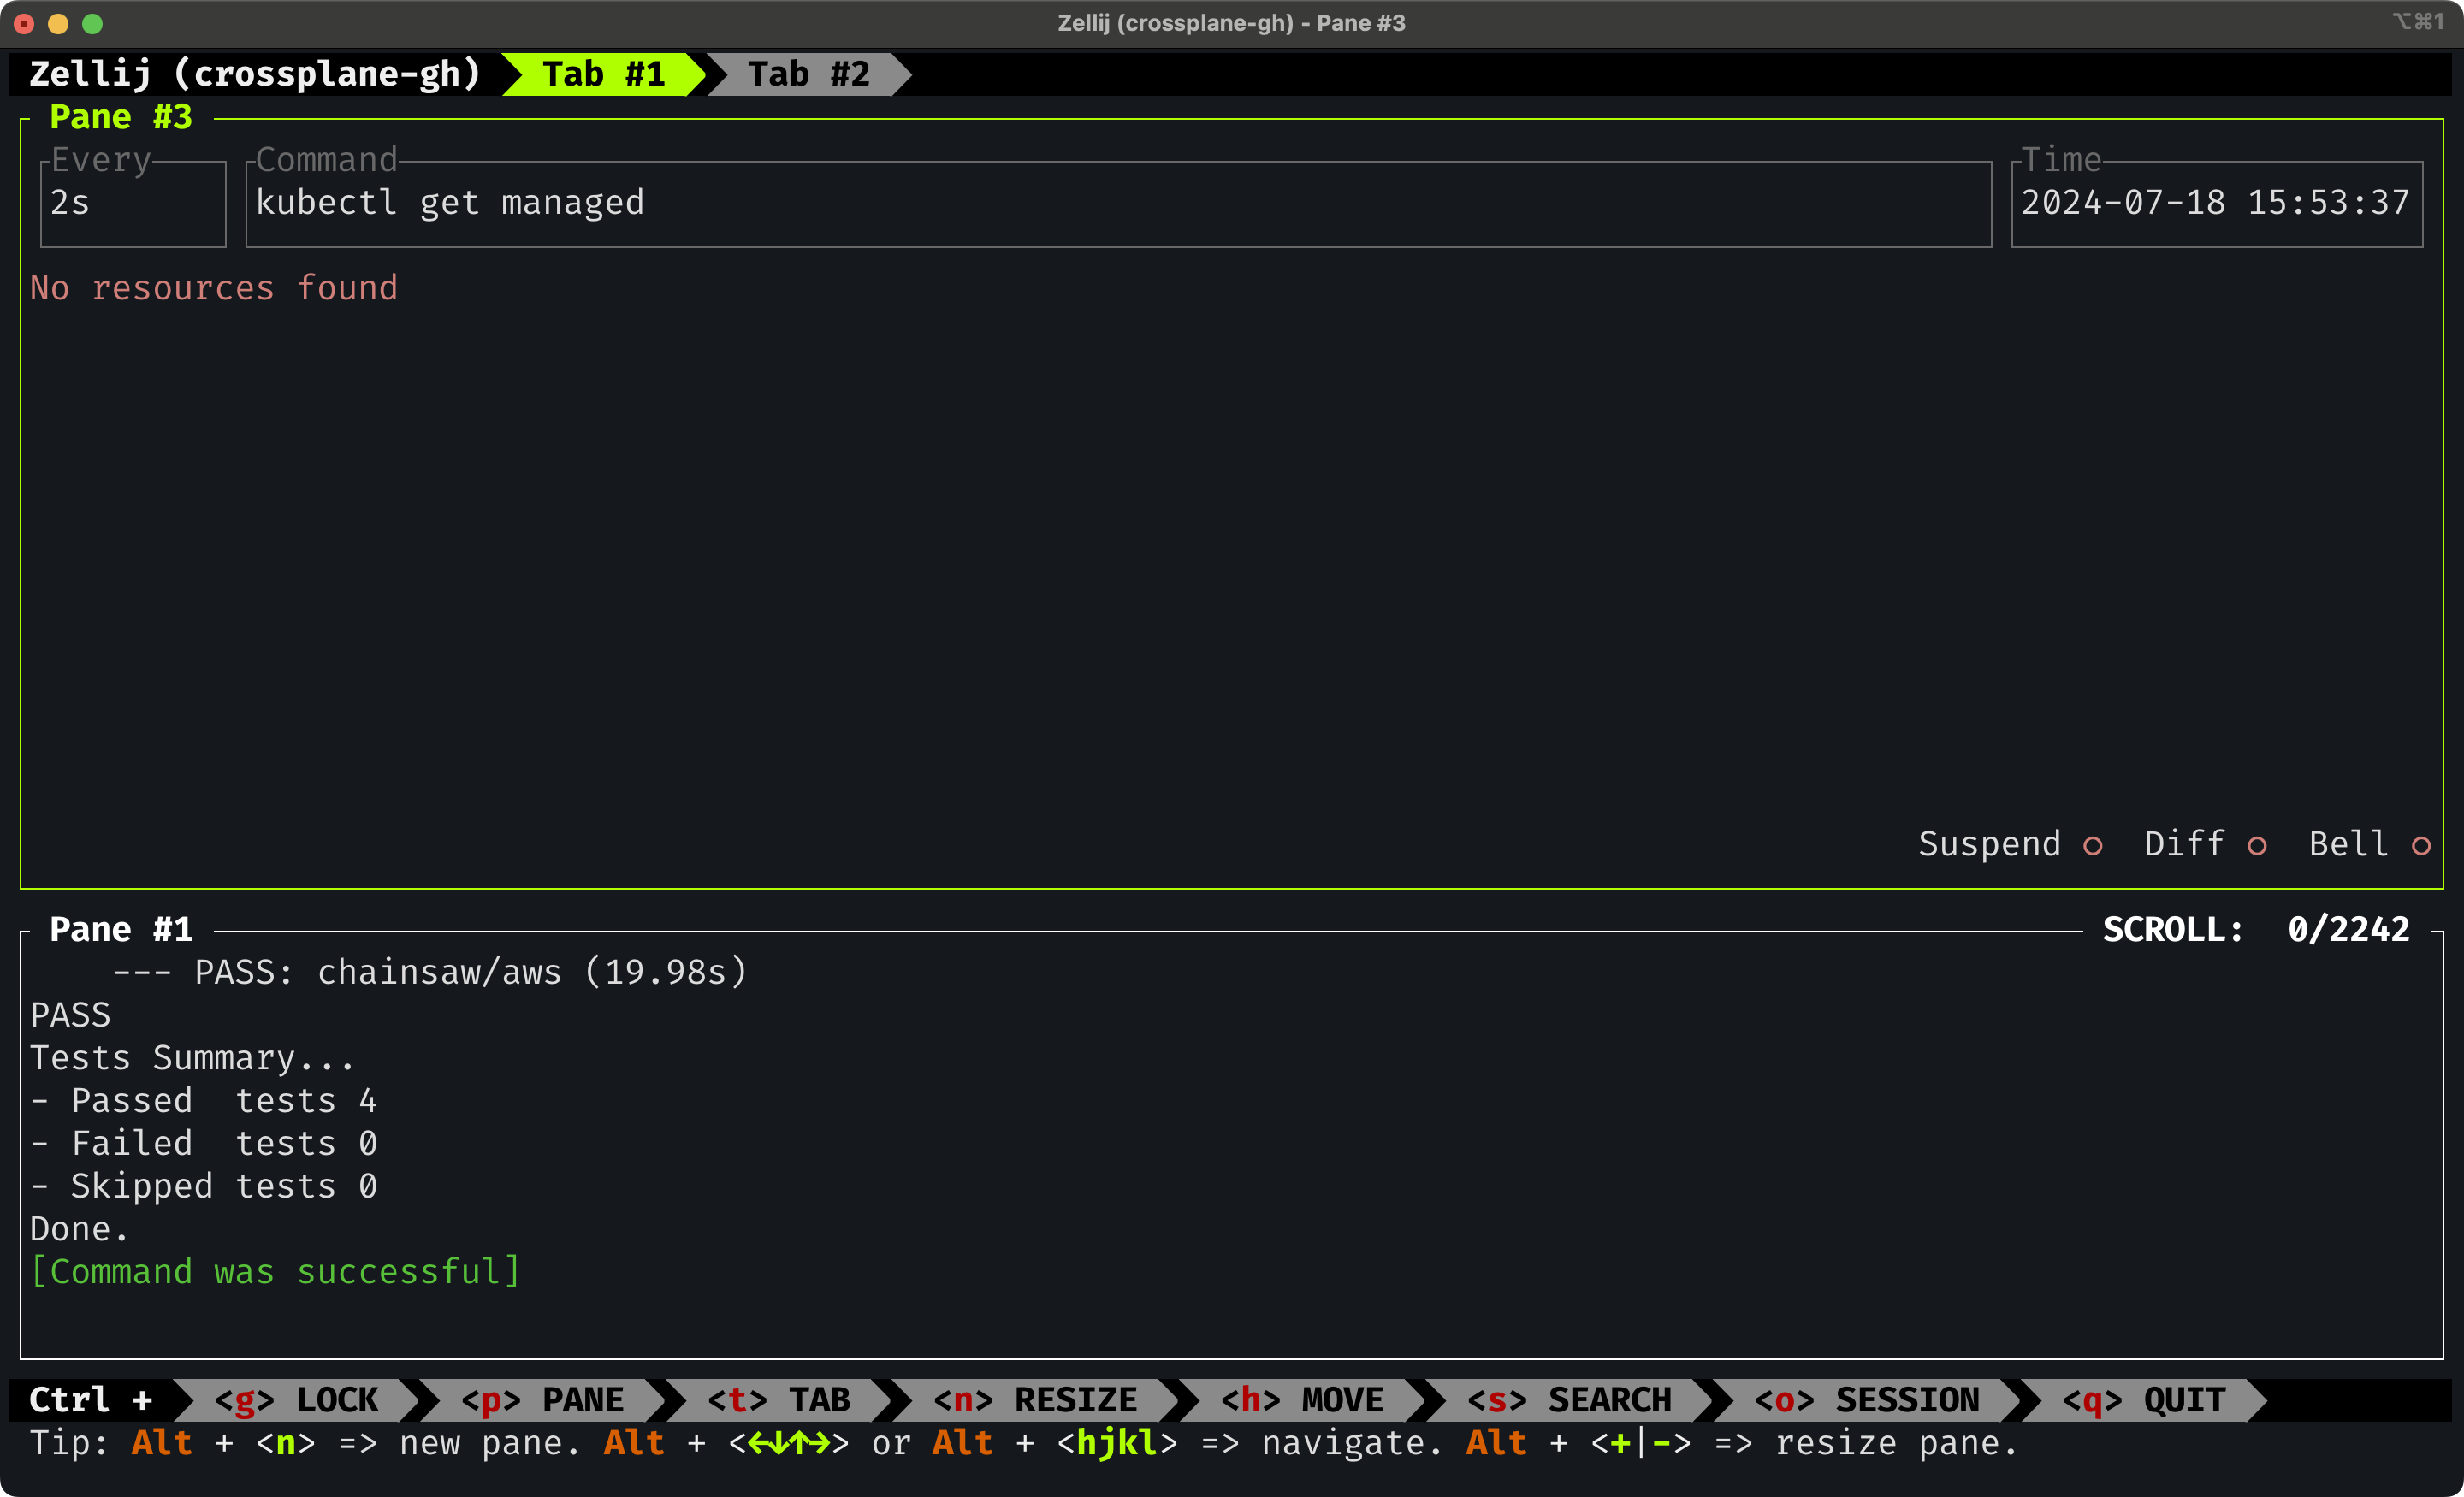
…and type just cluster-destroy to execute yet another Just task that will get us back to square zero.
just cluster-destroyWe should probably stop watching managed resources as well, so let’s press Ctrl + p followed by arrow up key to move to the top pane and press the enter key to select it.
Press
Ctrl + pfollowed by↑. Press the enter key to select the pane.
Now we can stop that process as well by pressing Ctrl + c.
Press
Ctrl + cto stop watching managed resources.
We’re done, so let’s exit Zellij session by pressing Ctrl + q.
Press
Ctrl + q.
We’re out. We’re done working, but there are a few other Zellij-related features we should explore.
We might want to leave the session we just quit active so that we can attach to it again, or we might want to delete it. We can do the latter by listing all the sessions,…
zellij list-sessionsThe output is as follows.
crossplane-kubernetes [Created 22m 31s ago] (EXITED - attach to resurrect)…and executing zellij delete-session followed by the name of the session and forcing deletion.
zellij delete-session crossplane-kubernetes --forceHere comes, in my opinion, the most important feature of Zellij; the ability to define the layout.
While it’s great to be able to create panes and tabs and move them around and tweak them to get the environment that is just right, those operations are tedious. I don’t want to waste precious minutes every time I start working. I have two options to avoid that. I can do it once, just as we did so far, and keep the session alive forever and ever so that we can simply attach to it and continue where we left. That’s not always a good idea since, at least in my case, I want a repeatable process that always starts from scrach. I need to create a cluster first, then jump into the tab with panes to run tests, watch managed resources, and a few other things, and, finally, a different tab from where I can destroy everything. If I would be attaching to an existing session, I’d always start from the end and not from the start.
A potentially better alternative is to create a layout for each project. Here’s the one I use in this repo.
cat test-layout.kdlThe output.
layout {
    default_tab_template {
        pane size=1 borderless=true {
            plugin location="zellij:tab-bar"
        }
        children
        pane size=2 borderless=true {
            plugin location="zellij:status-bar"
        }
    }
    tab name="Do" focus=true {
        floating_panes {
            pane {
                name "cluster"
                command "just"
                args "cluster-create"
                close_on_exit true
                x "20%"
                y "20%"
                width "60%"
                height "60%"
                focus true
            }
        }
        pane {
            name "test-watch"
            command "just"
            args "test-watch"
            start_suspended true
            size "70%"
        }
        pane {
            name "get-managed"
            command "viddy"
            args "kubectl" "get" "managed"
            start_suspended true
            size "30%"
        }
    }
    tab name="Done" {
        pane {
            name "cluster-destroy"
            command "just"
            args "cluster-destroy"
            start_suspended true
        }
    }
}
At the top is the default_tab_template which will be applied to any tab defined below or created during a session.
Over there, we have a borderless pane with size 1, meaning that it will occupy one row. That pane will display tab-bar which is a plugin that shows, as the name suggests, the top bar we already saw.
At the bottom of that section there is a second pane, this time with size 2, Just as the top one, that one is also based on a plugin except that, this time, it is the status-bar. That’s the one with shortcuts and statuses.
In between those two is the single entry children which, essentially, means “put there whichever other panes you define”. So, all the panes we’ll define will be between those two panes defined in the default tab.
Further on we have the Do tab which should be focused by default.
That one will start with floating_panes which, as the name suggests, are… well… floating. We haven’t explored floating panes just yet. They’re awesome and we’ll see them in action soon.
Inside the floating_panes section is a single pane named cluster which will automatically execute just command with the cluster-create argument. Since the purpose of that one is to create a cluster and dissapear once it’s done, it is set to close_on_exit. Than there are coordinates (x, y) and the size (width, height). Finally, that pane should be in focus.
Furth on, we have two “normal” panes, one that executes test watcher (test-watch) and the other that observes managed resource (get-managed).
All that is the first tab where I spend most of my time. I might create additional panes depending on what I’m doing but, those three are always there since I always need them.
Then there is the second tab called Done. As the name suggests, that’s where I go when I’m done working and will execute the just command with cluster-destroy argument.
Now, all those tabs, except the floating one, have start_suspended set to true. That means that the commands specified for those panes will not be executed automatically but only after we press the enter key.
Let’s see that layout in action by executing zellij to start a new session crossplane-kubernetes with the layout defined in the test-layout.kdl file.
zellij --session crossplane-kubernetes --layout test-layout.kdlLook at that.
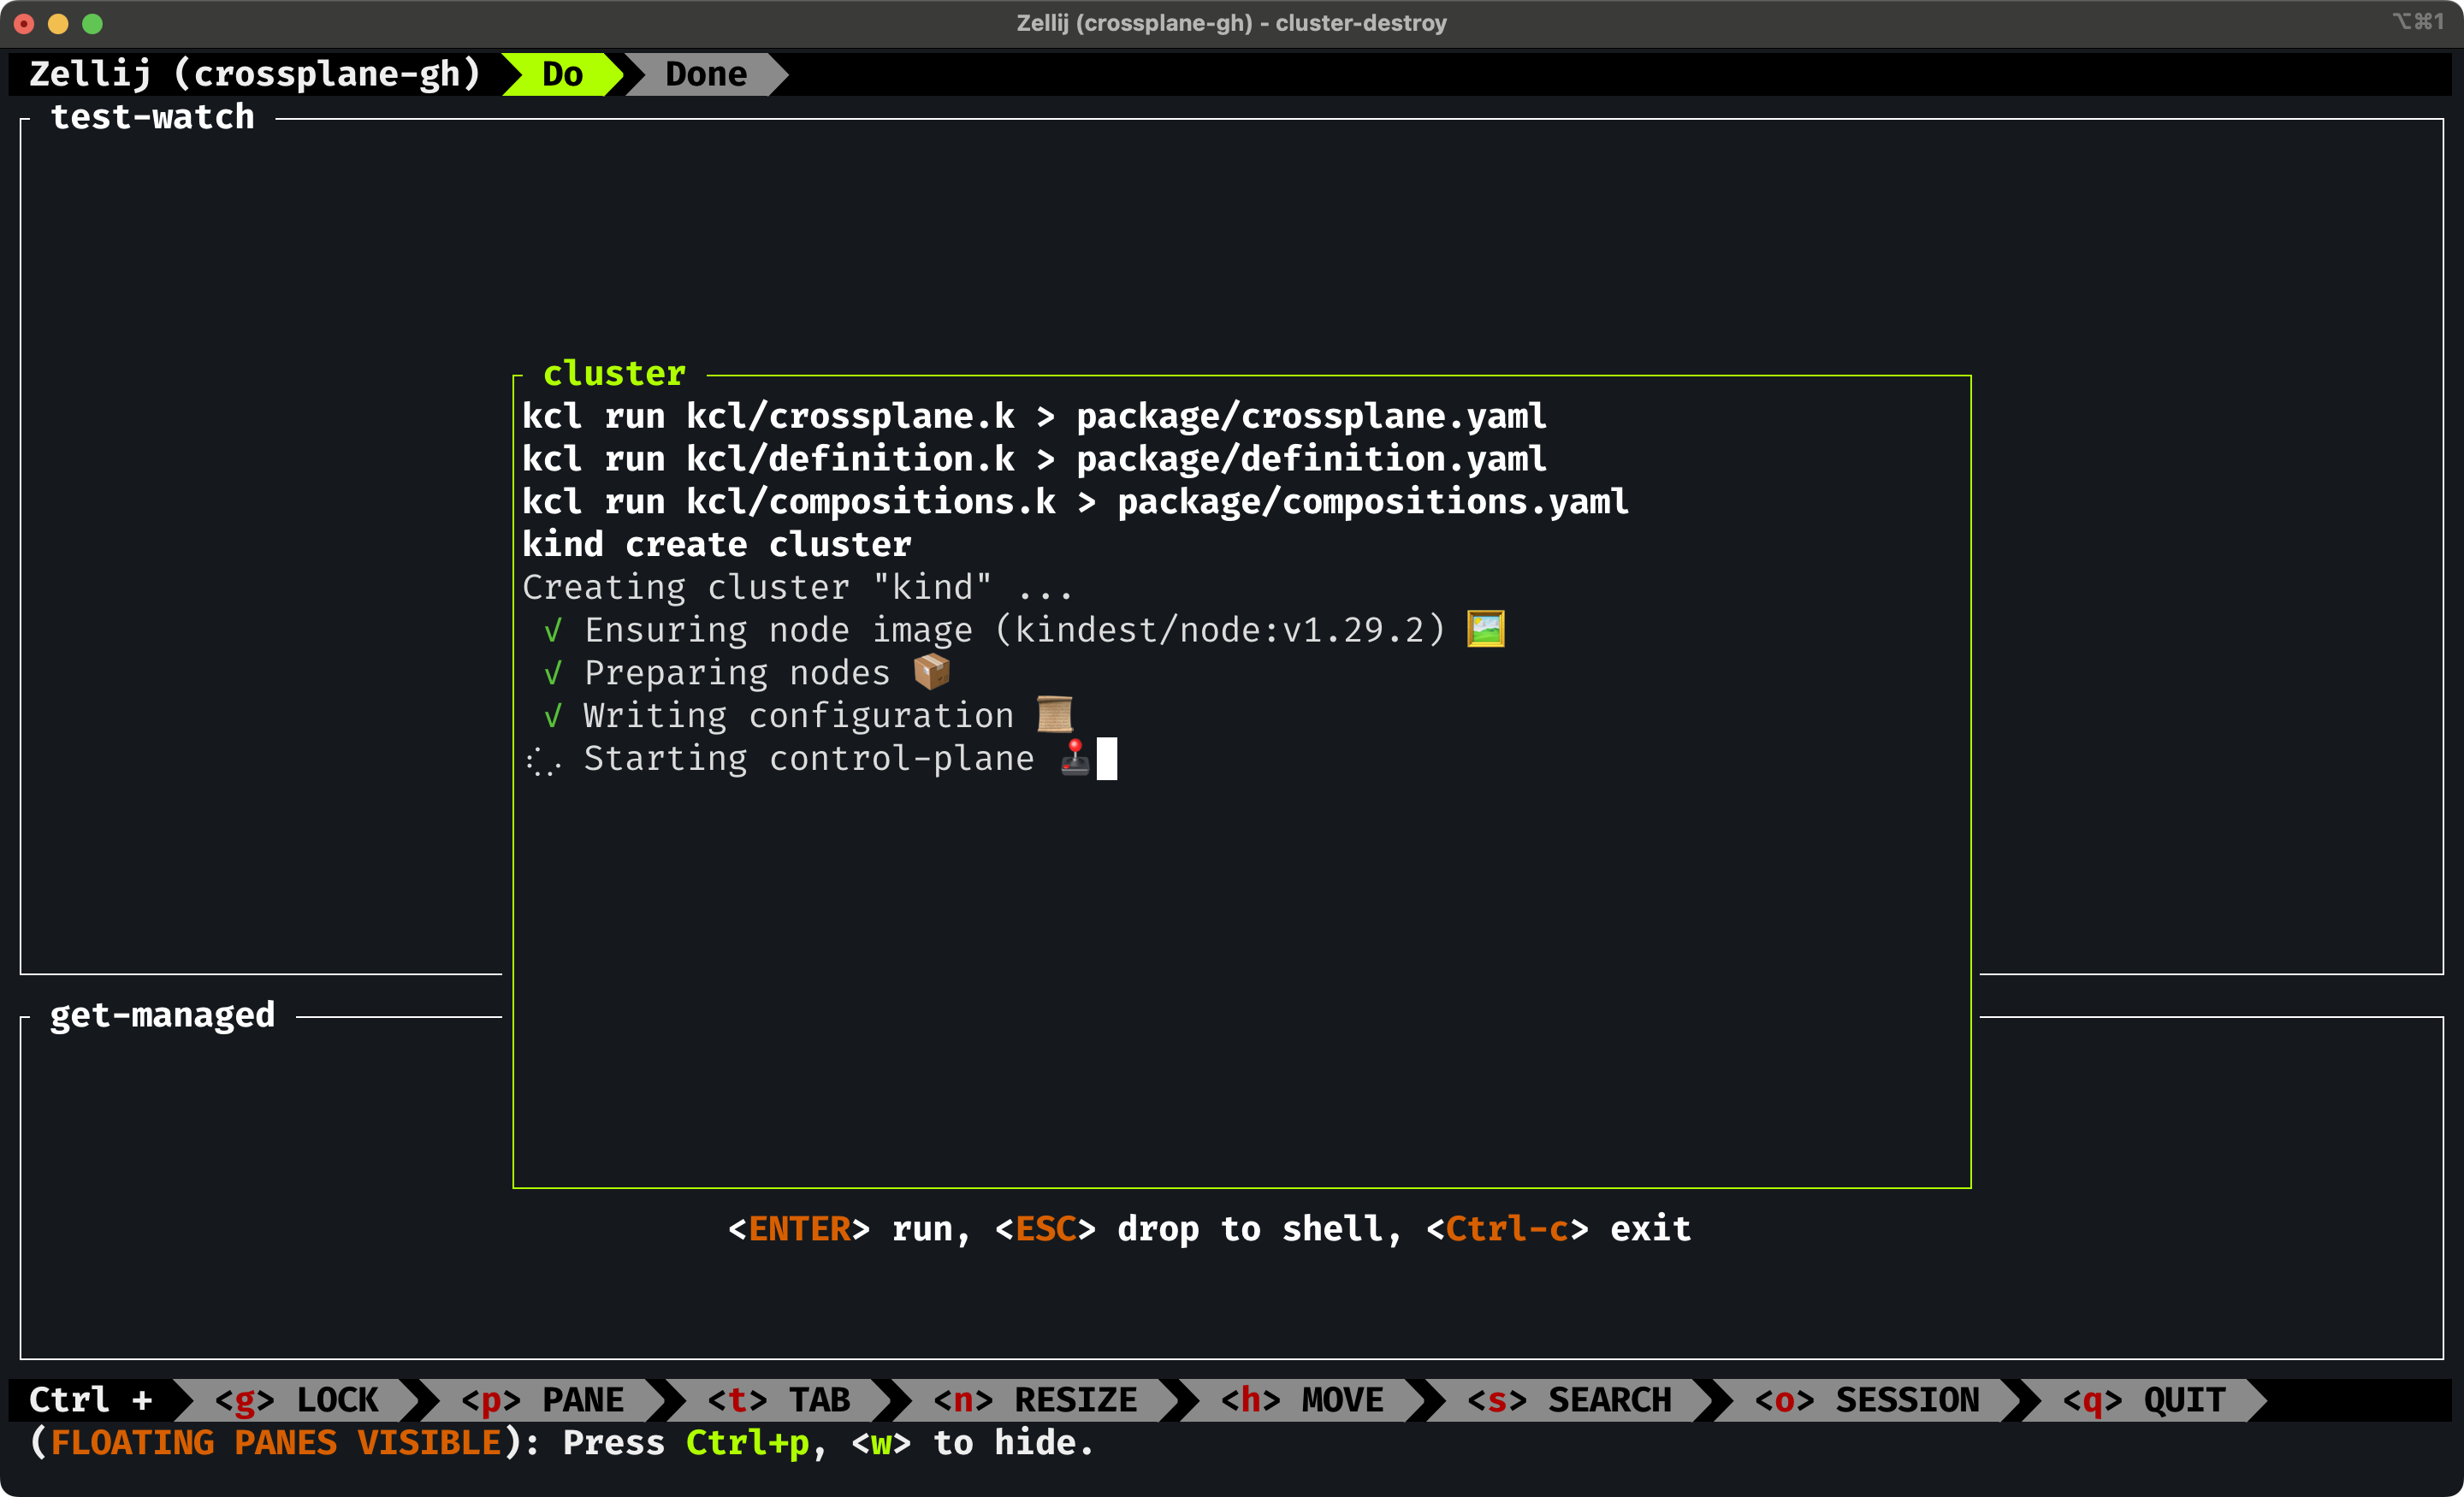
There is a floating pane in the middle that started executing the process that creates and configures the cluster. I did not have to do anything but wait until it’s done.
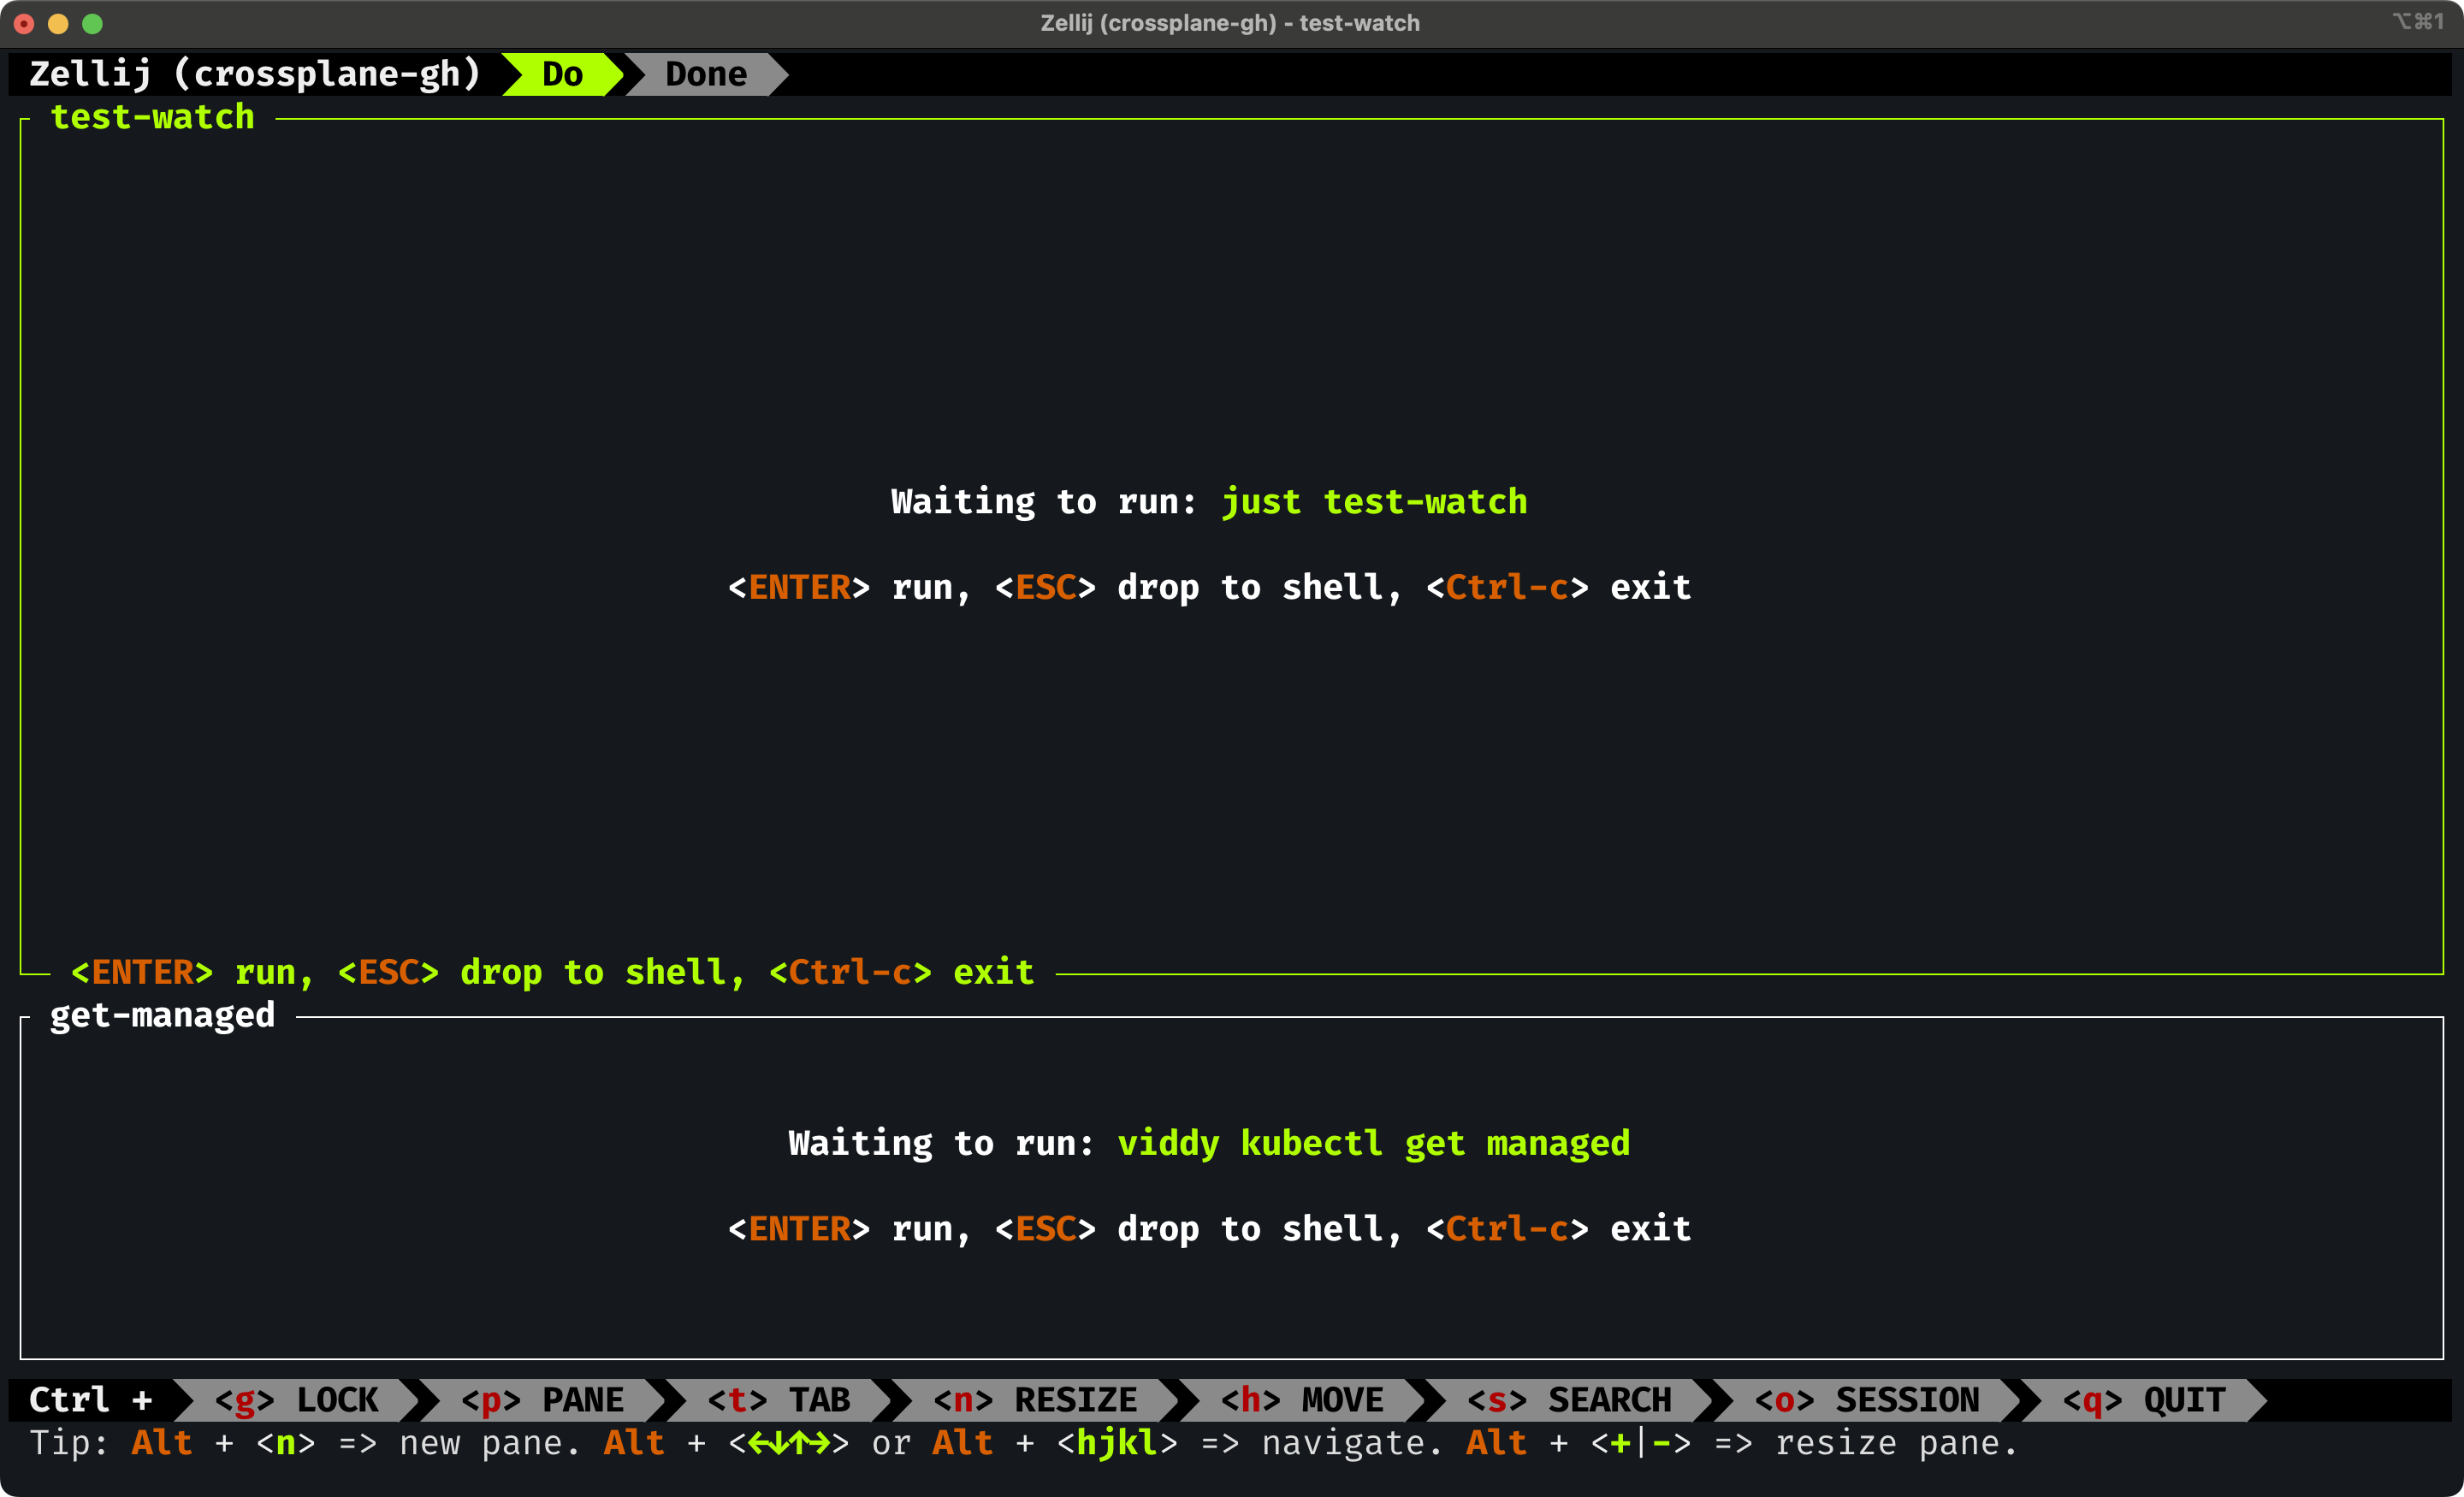
The moment the process executed in the floating pane finished, the pane itself dissapeared leaving us with two panes, both waiting for us to press the enter key to start the predefined processes.
Let’s do just that.
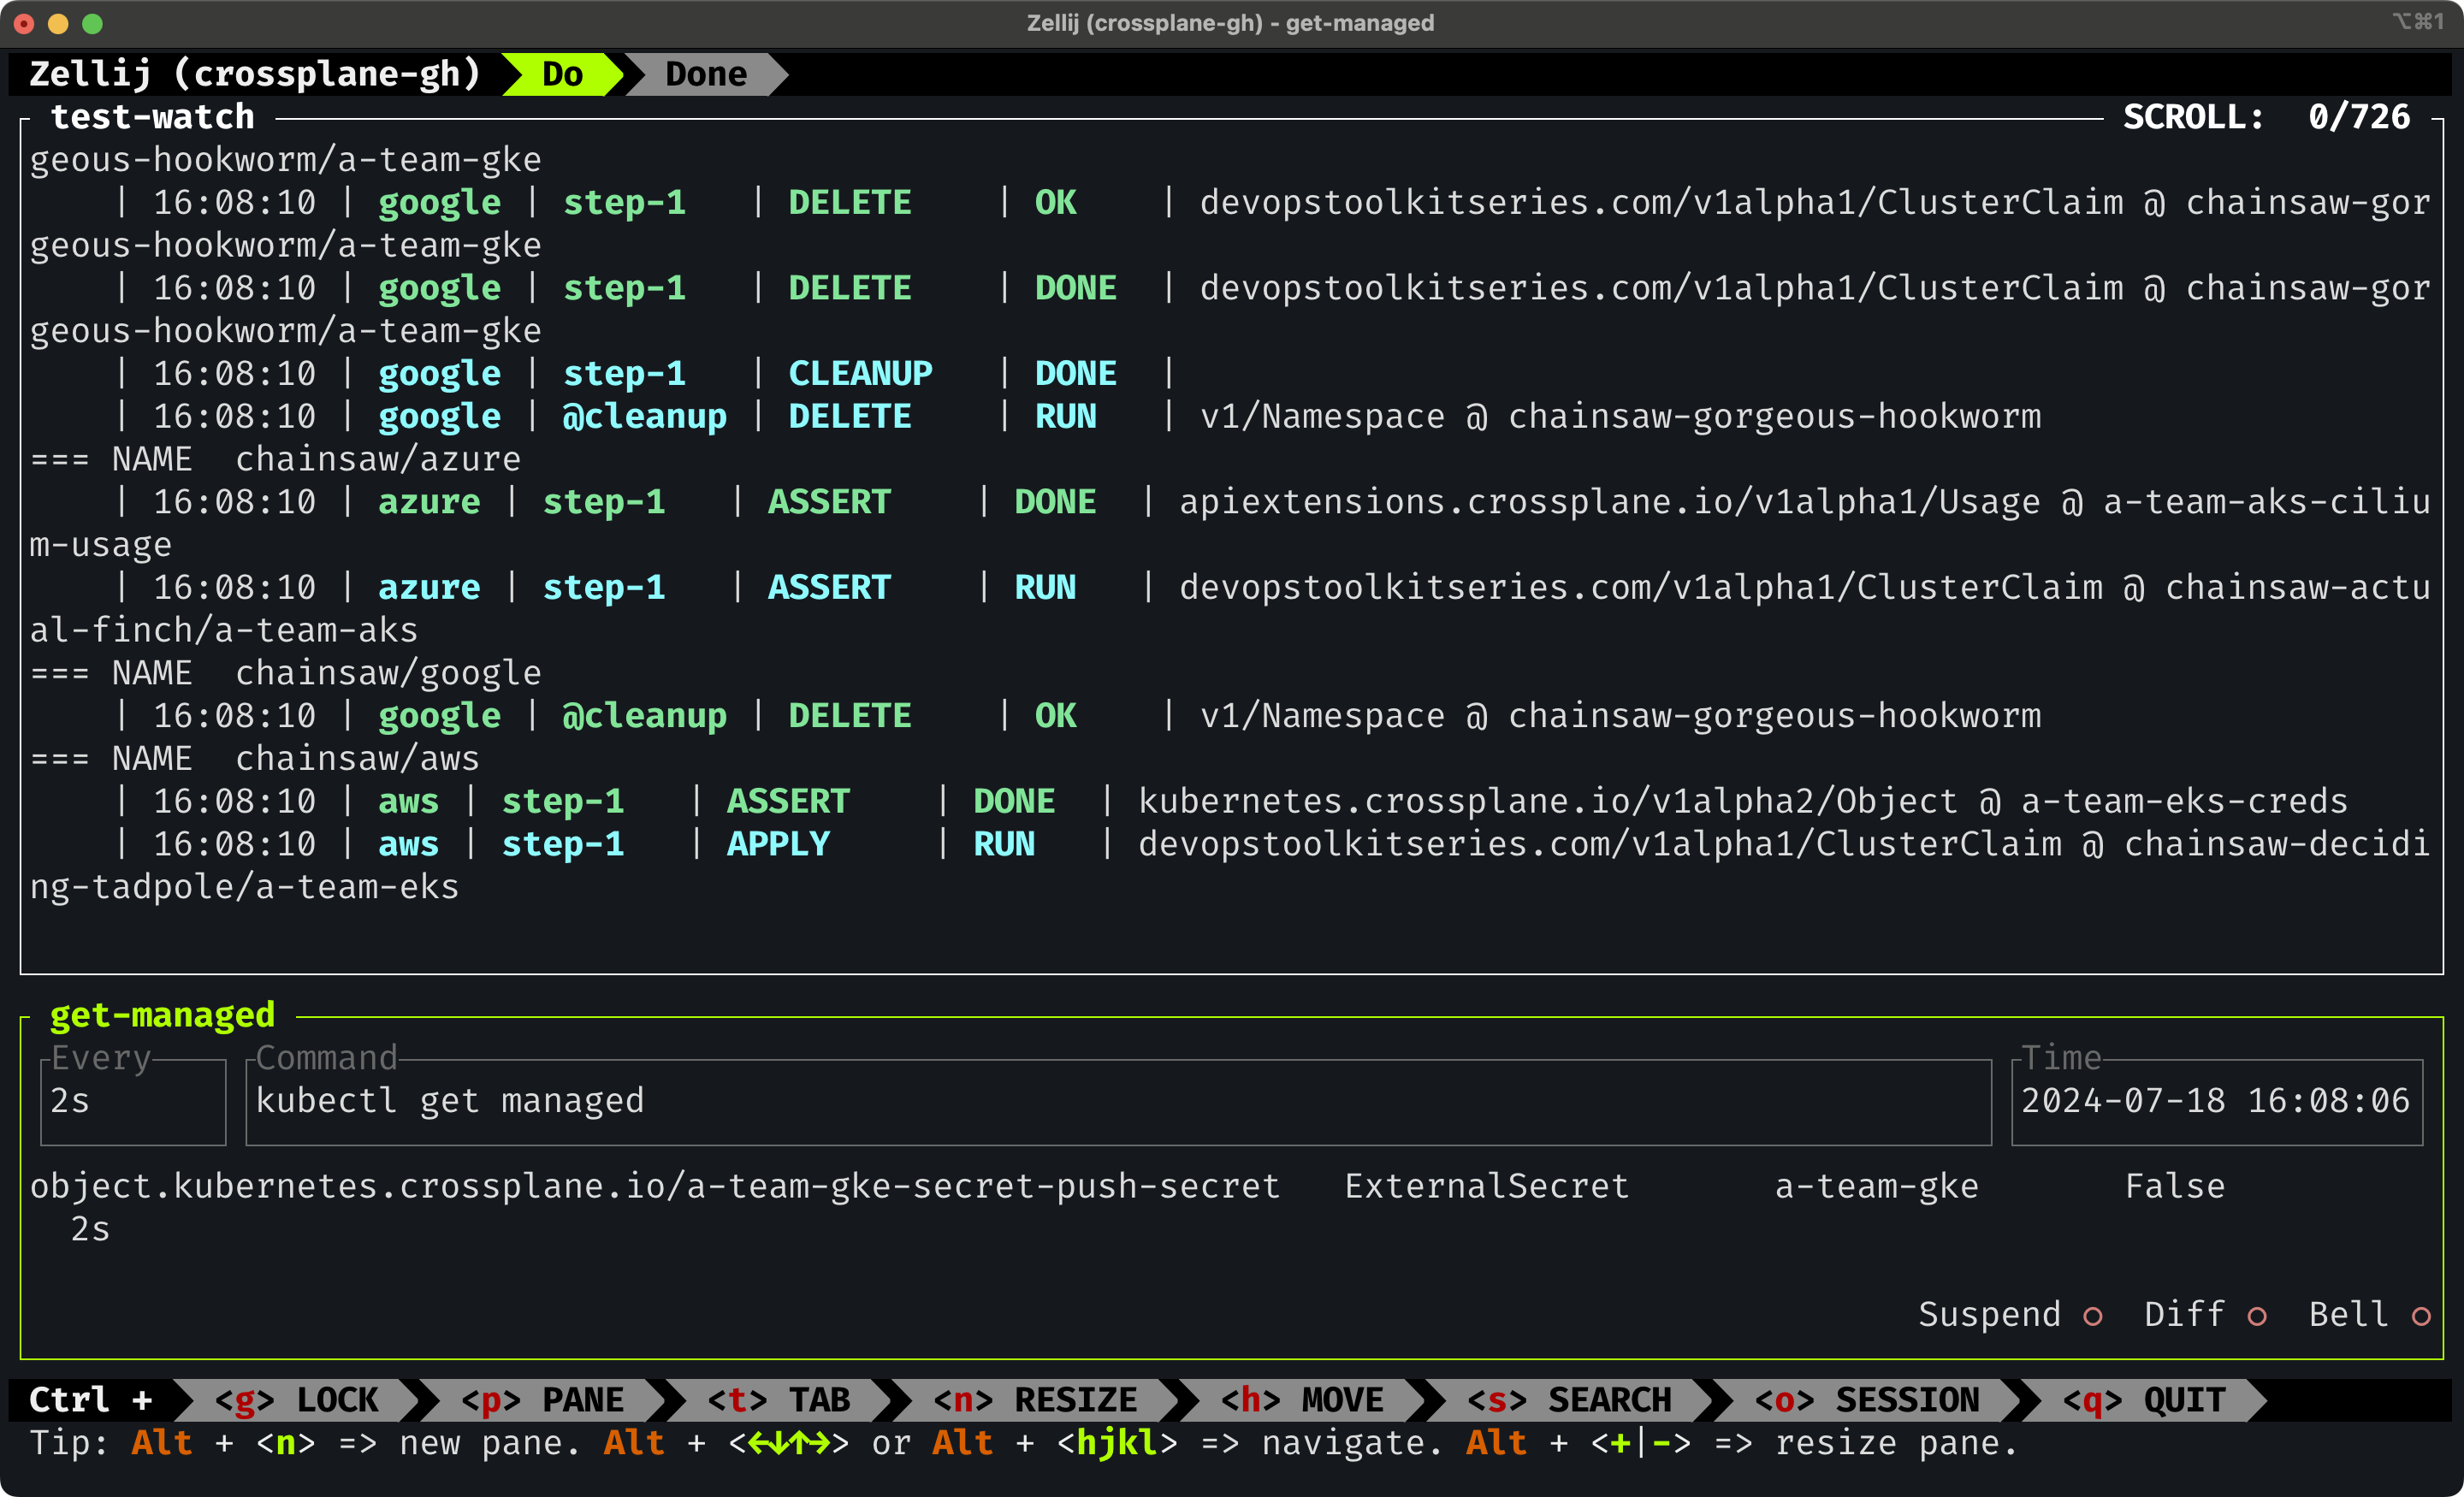
Press the enter key to start executing the tests watcher.
Press the enter key
Next, we’ll move to the bottom pane by pressing Ctrl + p followed by the arrow down and enter keys to select it and another enter key to execute the predefined process that watches for managed resources.
Press
Ctrl + pfollowed by↓. Press the enter key to select the pane.
Press the enter key
Now, let’s say that we finished writing and testing code and that we’d like to destroy everything. That’s what the second tab is for, so let’s move there by pressing Ctrl + t followed with number 2.
Press
Ctrl + tfollowed by2.
The “destroy everything” command is waiting for us to press the enter key so let’s just press it.
Press the enter key
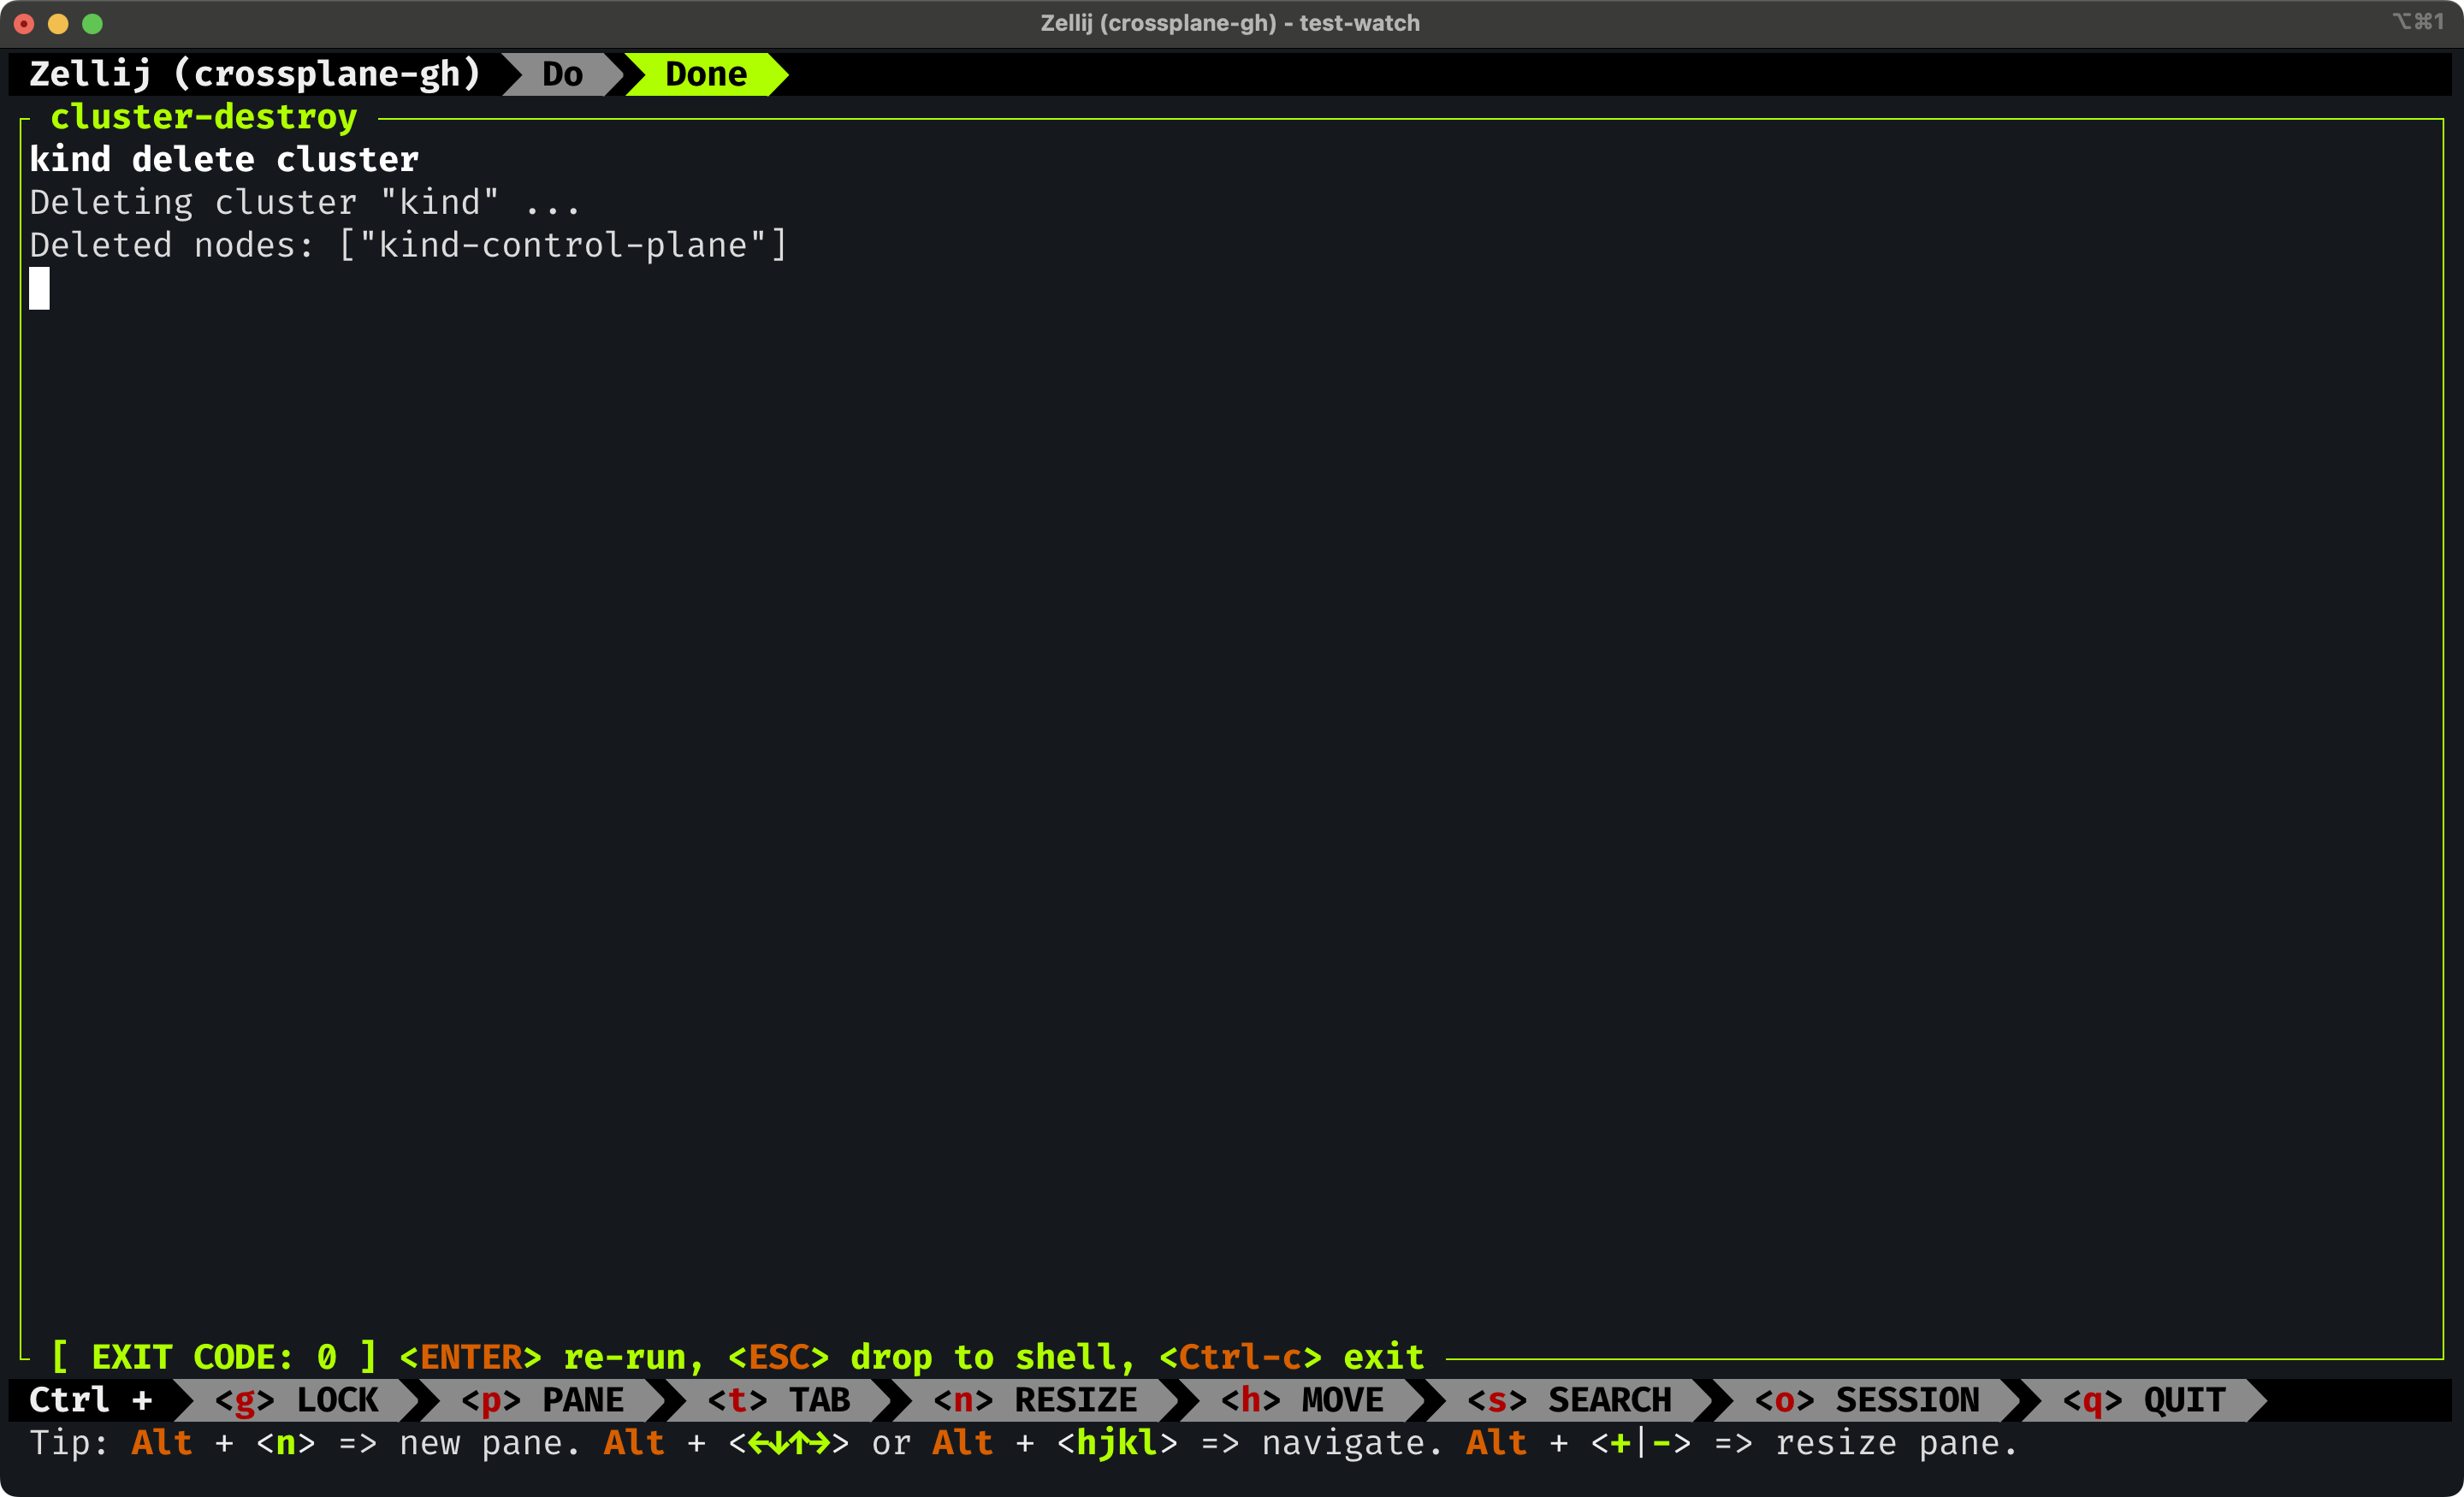
A few moments later, we are done and can exit the session by pressing Ctrl + q.
Press
Ctrl + q.
Wasn’t that an awesome and streamlined experience?
There’s much more to Zellij and I’ll leave it to you to explore the rest yourself. All I’ll say is that Zellij is awesome and that I strongly recommend it. It’s so great that I won’t even do the typical pros and cons section. There isn’t a single thing I don’t like about it. It’s a no brainer if you need multiple panes or tabs when working in a terminal.
Thank you for watching. See you in the next one. Cheers.
Destroy
git checkout main